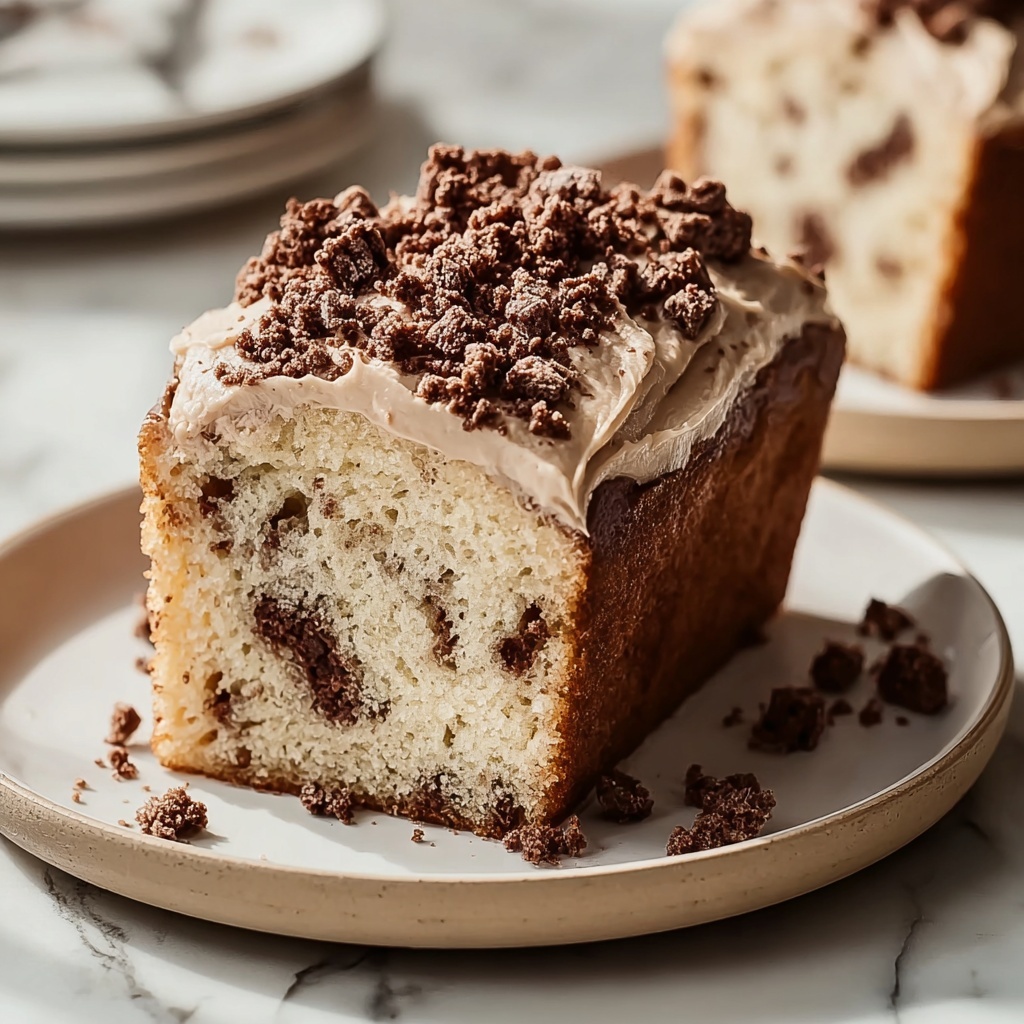
If you ever crave something both nostalgic and delightfully simple, this Vintage Ice Cream Bread Recipe is an absolute must-try. It combines the creamy sweetness of ice cream with the comforting texture of freshly baked bread, coming together in a way that feels like a charming throwback to simpler times. With just two main ingredients, this bread is as easy to whip up as it is satisfying, making it the perfect recipe to bring a little magic into your kitchen whenever you want something sweet and soft without the fuss.
Ingredients You’ll Need
Getting started with this Vintage Ice Cream Bread Recipe is wonderfully straightforward because it relies on only two primary ingredients that carry all the flavor and structure. Each one plays a pivotal role: the ice cream adds moisture, sweetness, and a rich flavor base, while the self-rising flour helps the bread develop its tender crumb and perfect rise.
- 2 cups ice cream (any flavor, softened): Choose your favorite flavor as it will define the taste, and soften it to easily blend with the flour.
- 1 1/2 cups self-rising flour: This flour already contains the leavening agents to make your bread rise beautifully, making the recipe incredibly simple.
How to Make Vintage Ice Cream Bread Recipe
Step 1: Preheat and Prepare Your Pan
Begin by setting your oven to 350°F (175°C) so it’s ready the moment your batter is mixed. Grease your loaf pan with butter or use a non-stick spray to ensure the bread releases effortlessly once it’s baked. This step is important to keep your bread’s crust intact when you remove it from the pan.
Step 2: Mix Ice Cream and Flour
In a large bowl, add your softened ice cream and self-rising flour. Stir them together gently but thoroughly until the mixture becomes a thick, uniform batter. Don’t worry if it feels dense; this consistency is exactly what you want for a deliciously moist yet sturdy loaf.
Step 3: Transfer to Loaf Pan
Pour your thick batter into the prepared pan and smooth the surface with a spatula. Creating a flattened top helps the bread bake evenly, giving you a perfect golden crust all around.
Step 4: Bake Until Golden
Place the loaf pan in your preheated oven and bake for 45 to 50 minutes. Keep an eye on the bread’s color; you’ll know it’s ready when the top turns a stunning golden brown and when a toothpick inserted into the center comes out clean without any wet batter clinging to it.
Step 5: Cool Before Slicing
Once the baking is done, let the bread rest in the pan for about 10 minutes. This slight cooling period helps the bread firm up a bit, making it easier to slice without crumbling. Then, transfer the loaf to a wire rack to cool completely and enjoy the full flavor and texture.
How to Serve Vintage Ice Cream Bread Recipe
Garnishes
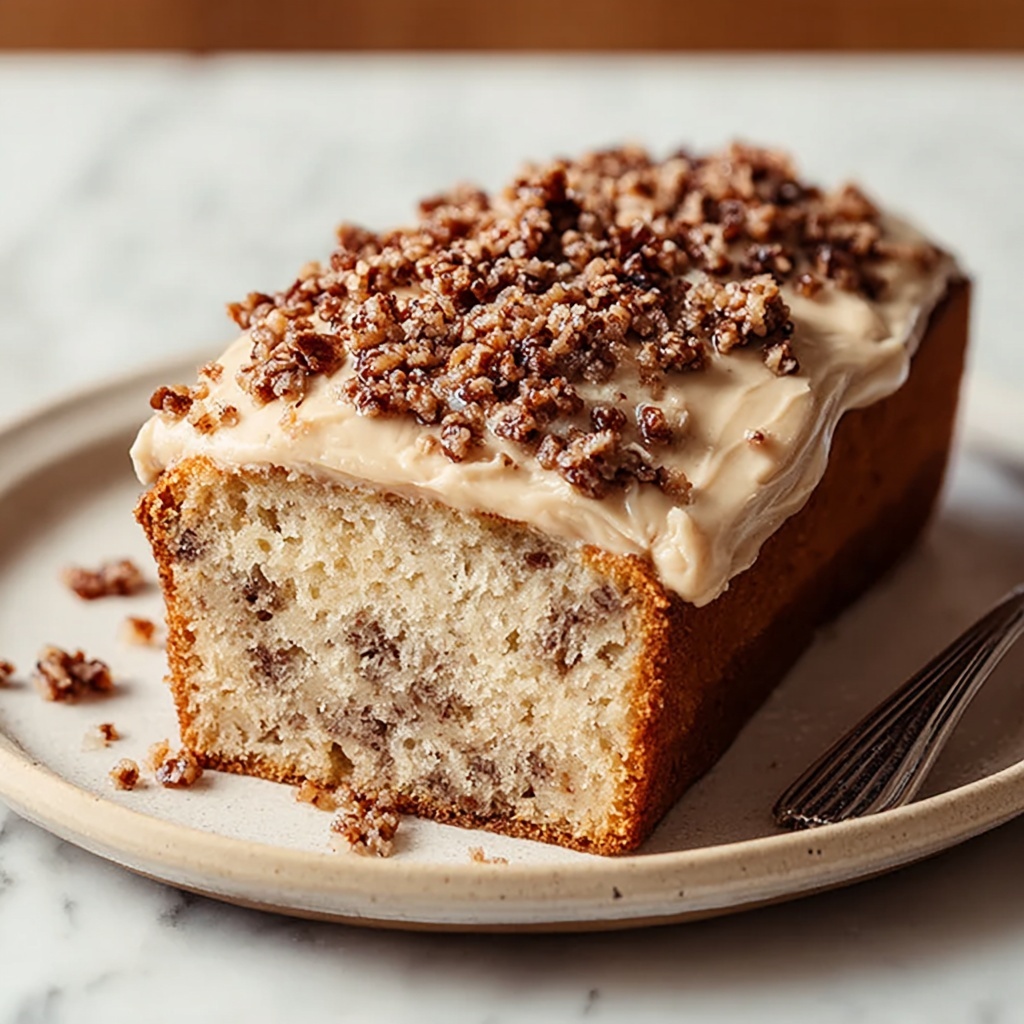
Serving this bread with a little extra flair can elevate an already charming treat. Try spreading a bit of softened butter or cream cheese to complement the sweetness naturally found in the ice cream-infused loaf. Fresh berries or a dusting of powdered sugar also add a lovely visual and flavorful touch.
Side Dishes
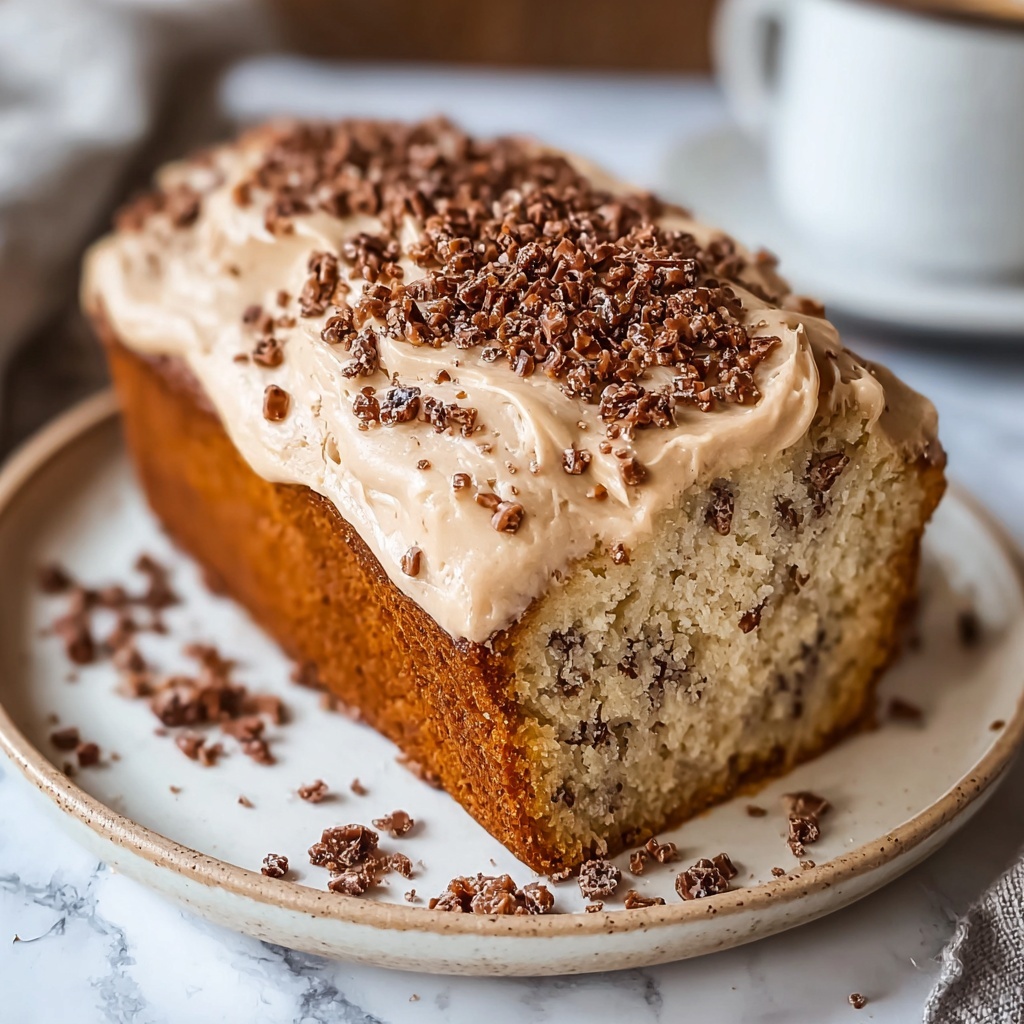
This bread pairs beautifully alongside your morning coffee or tea, making it a cozy breakfast or afternoon snack. It’s equally delightful next to a bowl of fresh fruit or a scoop of vanilla ice cream for those who want to double down on creamy sweetness without being overly complicated.
Creative Ways to Present
For a fun twist, slice the bread and toast it slightly before serving to bring out a hint of crunch that contrasts wonderfully with its soft interior. You can also use it as a base for dessert sandwiches by adding fillings like Nutella, jam, or whipped cream between slices.
Make Ahead and Storage
Storing Leftovers
Leftover Vintage Ice Cream Bread Recipe keeps well at room temperature for a day or two, stored in an airtight container or wrapped tightly in plastic wrap. This helps maintain its moisture and prevents it from drying out or becoming crumbly.
Freezing
If you want to keep it longer, slicing the bread and freezing it in a freezer-safe bag is a smart move. When you’re ready to enjoy, simply let the slices thaw at room temperature or warm them gently in a toaster or oven.
Reheating
Reheating your Vintage Ice Cream Bread Recipe can revive its soft texture and pleasing warmth. Pop slices in the toaster for a minute or two, or warm them in a low-heat oven wrapped in foil to avoid drying it out.
FAQs
Can I use any flavor of ice cream for this bread?
Absolutely! The flavor of your ice cream will directly influence the taste of the bread, so feel free to experiment with classic vanilla, rich chocolate, or even fruity sorbets to find your favorite version.
What if I don’t have self-rising flour?
You can make your own by combining 1 1/2 cups all-purpose flour with 2 teaspoons baking powder and 1/2 teaspoon salt. This mix will mimic self-rising flour well enough for this recipe.
Is this bread sweet or savory?
This bread is naturally sweet due to the ice cream, making it more of a dessert or sweet snack. However, the flavor varies depending on the ice cream flavor you choose.
Can I add mix-ins like nuts or chocolate chips?
Yes, you can fold in small amounts of nuts, chocolate chips, or dried fruit into the batter before baking to add texture and extra bursts of flavor.
How dense is this bread?
The bread has a tender crumb that is slightly dense due to the ice cream, but it is moist and soft, much like a quick bread or cake, making it perfect for slicing and serving in various ways.
Final Thoughts
This Vintage Ice Cream Bread Recipe is a delightful example of how baking can be simple, fun, and utterly satisfying with just a couple of everyday ingredients. Its nostalgic charm combined with effortless preparation makes it a recipe you’ll want to keep in your back pocket for whenever you’re in need of a quick homemade treat that feels like a warm hug. Go ahead and give it a try—you won’t regret having this sweet, creamy bread on your table!
Print
Vintage Ice Cream Bread Recipe
- Prep Time: 7 minutes
- Cook Time: 45-50 minutes
- Total Time: 52-57 minutes
- Yield: 1 loaf (about 8 servings)
- Category: Bread
- Method: Baking
- Cuisine: American
Description
This Vintage Ice Cream Bread is a simple and nostalgic treat combining just two main ingredients – soft ice cream and self-rising flour. The ice cream acts as a moistener and sweetener, creating a quick and easy bread that’s perfect for beginners or a fun baking project. With its golden crust and tender crumb, this bread can be enjoyed on its own or with your favorite spreads.
Ingredients
Ingredients
- 2 cups ice cream (any flavor, softened)
- 1 1/2 cups self-rising flour
Instructions
- Preheat Oven: Preheat your oven to 350°F (175°C). Grease a loaf pan with butter or non-stick spray to prevent sticking and ensure easy removal.
- Mix Ingredients: In a large bowl, combine the softened ice cream and self-rising flour. Stir until fully incorporated; the batter will be thick and somewhat sticky.
- Prepare to Bake: Pour the batter into the prepared loaf pan and smooth the top evenly using a spatula, ensuring uniform thickness for even baking.
- Bake Bread: Place the loaf pan in the oven and bake for 45 to 50 minutes. The bread is done when the top is golden brown and a toothpick inserted into the center comes out clean.
- Cool Bread: Allow the bread to cool in the pan for 10 minutes; then transfer it onto a wire rack to cool completely before slicing to maintain texture and avoid crumbling.
Notes
- You can use any flavor of ice cream; however, vanilla or chocolate work best for a versatile bread.
- Make sure the ice cream is softened to room temperature for easier mixing.
- Self-rising flour contains baking powder and salt, so no additional leavening agents or salt are needed.
- This bread is best eaten fresh but can be stored in an airtight container for up to 2 days.
- For a dairy-free option, try using a non-dairy ice cream alternative.


