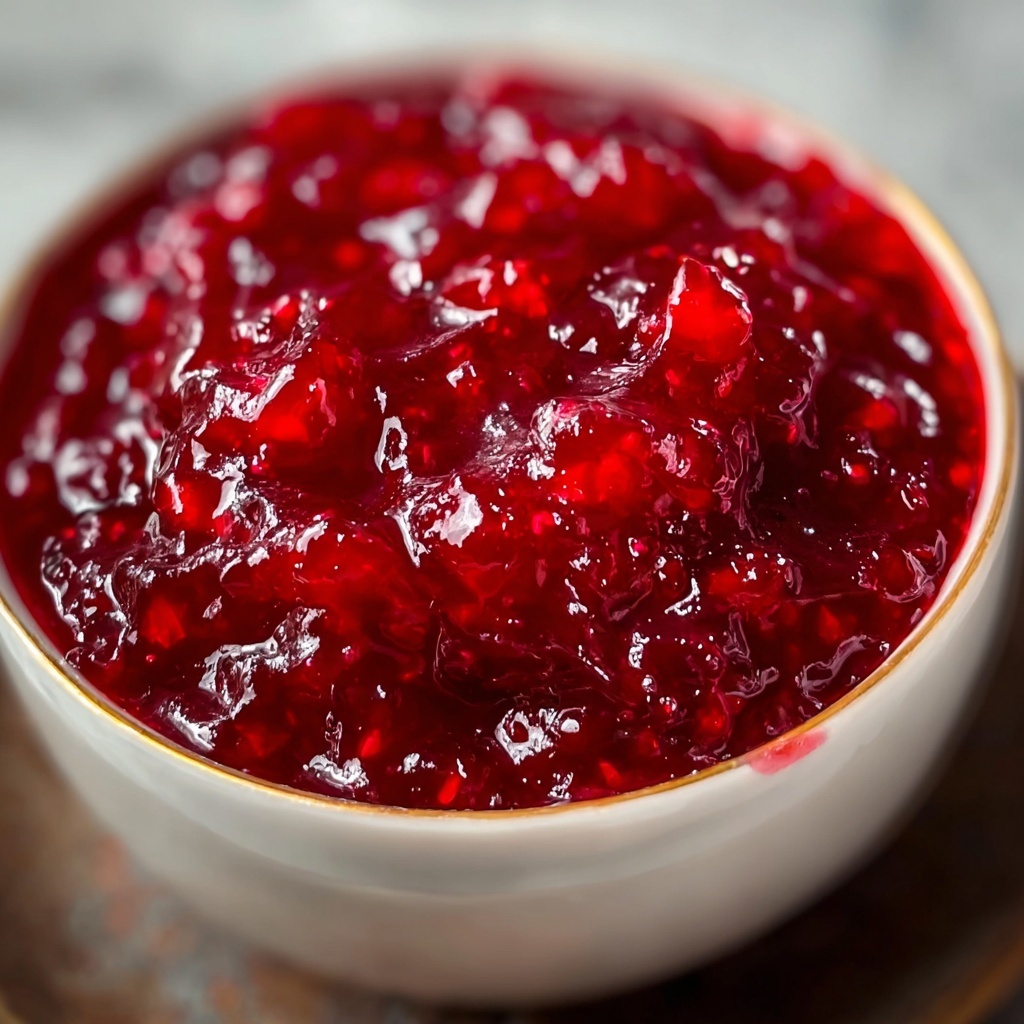
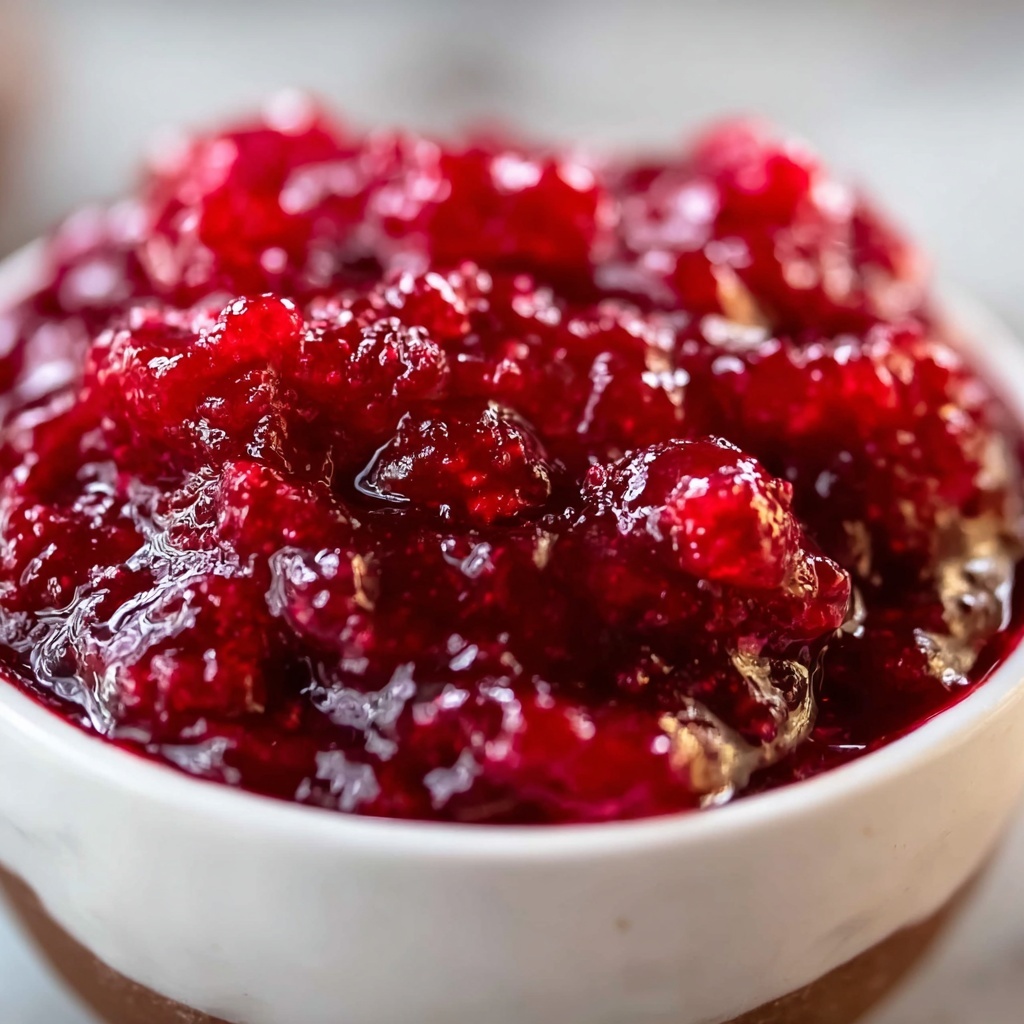
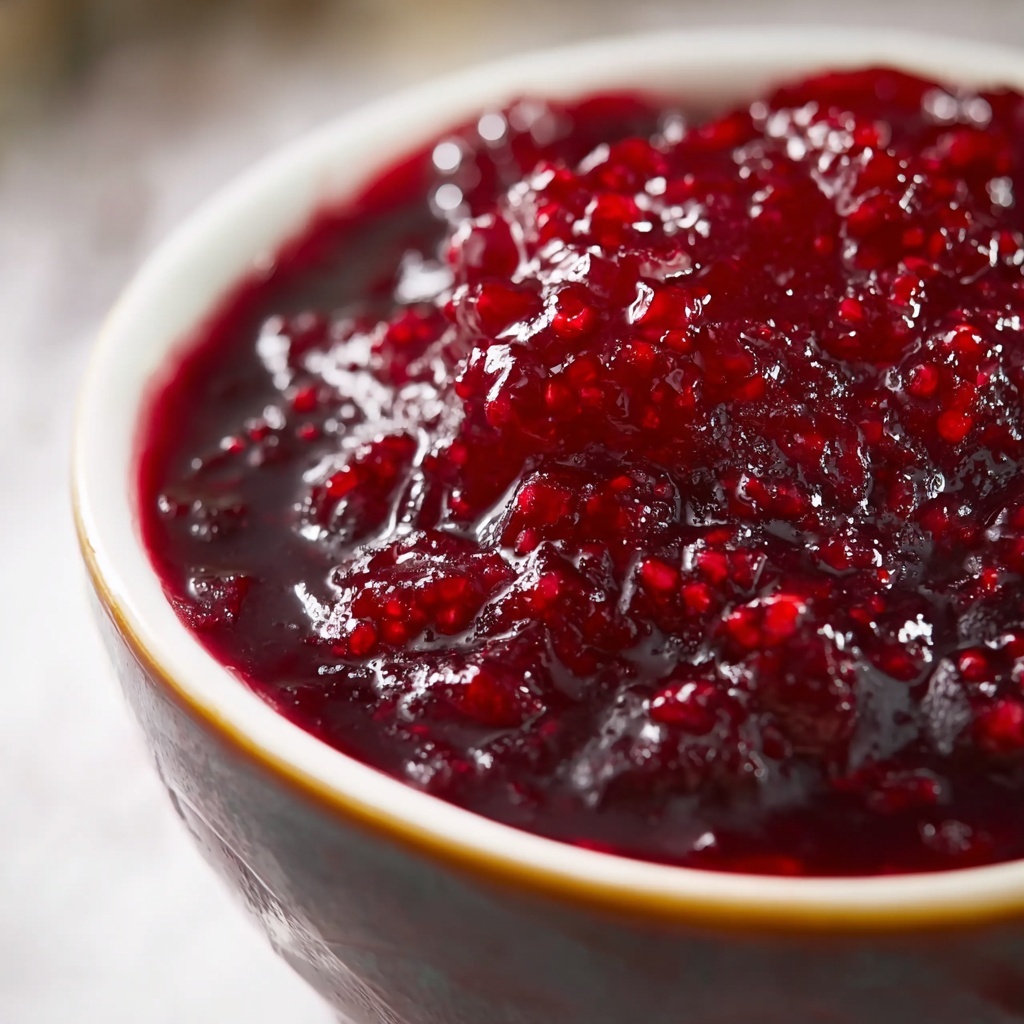
If you’ve ever wished for a sweet, tangy spread bursting with fruity goodness, you’re going to love this Small Batch Raspberry Jam Recipe. It’s perfect for when you want just enough jam without the fuss of making a huge batch. This recipe highlights the natural brightness of fresh raspberries combined with simple ingredients to create a luscious, homemade jam that feels like sunshine on a spoon. Whether you’re new to canning or just craving a fresh topping for your toast, this recipe is the perfect little kitchen adventure.
Ingredients You’ll Need
Gathering a handful of simple yet powerful ingredients is all it takes to craft this beautiful jam. Every component plays a starring role, from sweetness and acidity to the luscious texture and vivid color that make this Small Batch Raspberry Jam Recipe so irresistible.
- 2 cups fresh raspberries: Choose ripe, vibrant berries for the best natural sweetness and that signature raspberry burst.
- 1 cup granulated sugar: This not only sweetens but also helps preserve the jam’s fresh flavors.
- 1 tablespoon lemon juice: Adds brightness and a hint of tartness that balances the sweetness perfectly.
- 1/2 teaspoon vanilla extract (optional): A subtle depth that warms up the berry flavor beautifully.
- 1 tablespoon pectin (optional): Use this if you prefer a thicker jam, though the natural pectin in raspberries often does the job well enough.
How to Make Small Batch Raspberry Jam Recipe
Step 1: Prepare the Raspberries
Begin by washing your raspberries gently under cool water, then drain them well. If you’re using frozen raspberries, let them thaw completely before you start. This ensures even cooking and a smooth texture for your jam.
Step 2: Combine Ingredients in a Saucepan
Place the raspberries, sugar, and lemon juice into a medium saucepan. Stir them gently to combine, allowing the sugar to start dissolving into the fruit’s juices. This step is the foundation of your jam’s vibrant flavor and perfect sweetness balance.
Step 3: Cook and Mash the Berries
Simmer the mixture over medium heat, stirring frequently. Use a spoon or a potato masher to gently crush the raspberries as they cook, helping release their juices and create a luscious texture. This step requires patience but is critical for achieving that melt-in-your-mouth quality.
Step 4: Add Pectin if Using
If you want your jam a little thicker, sprinkle in the pectin according to package instructions around this stage. Continue to stir to fully incorporate it, ensuring your jam sets up just right without being too stiff.
Step 5: Simmer Until Thickened
Let the mixture simmer for about 10 to 15 minutes until it thickens slightly. Keep an eye and keep stirring to prevent it from sticking to the bottom or burning. This is where all the flavors truly meld and intensify.
Step 6: Finish with Vanilla
Once thickened, stir in the vanilla extract if you’re using it. This small addition adds a lovely warm undertone that makes the jam feel extra special and cozy.
Step 7: Cool and Store
Remove the jam from heat and let it cool completely at room temperature. Once cooled, transfer it into a clean container, cover, and pop it into the refrigerator. Your Small Batch Raspberry Jam Recipe is now ready to be enjoyed!
How to Serve Small Batch Raspberry Jam Recipe
Garnishes
When serving your homemade raspberry jam, consider topping it with a few fresh raspberries for a pop of color and freshness. A sprig of mint adds a surprising, refreshing contrast that pairs beautifully with the berry sweetness.
Side Dishes
This jam isn’t just for toast—try it alongside warm scones, paired with creamy yogurt, spread over a fluffy pancake stack, or even dolloped on vanilla ice cream for an easy yet decadent dessert.
Creative Ways to Present
For a charming brunch presentation, spoon your Small Batch Raspberry Jam Recipe into small glass jars and tie them with twine as delightful homemade gifts. Or serve it layered in a parfait with granola and whipped cream for a visually stunning treat that tastes as good as it looks.
Make Ahead and Storage
Storing Leftovers
Because this is a small batch recipe, leftovers can be easily refrigerated in an airtight container for up to two weeks. Keeping your jam chilled preserves its fresh flavor and gorgeous texture without the need for preservatives.
Freezing
If you want to enjoy your jam for longer, freezing is a great option. Transfer the jam into freezer-safe containers, leaving a bit of headspace to allow for expansion. When stored this way, your Small Batch Raspberry Jam Recipe can last several months while maintaining its fruity goodness.
Reheating
To revive frozen jam, thaw it overnight in the refrigerator. If you prefer a smoother pourable consistency, warm it gently over low heat while stirring. This restores the softness without cooking it further or altering the flavor.
FAQs
Can I use frozen raspberries for this recipe?
Absolutely! Frozen raspberries work wonderfully once thawed. Just make sure to drain any excess liquid before cooking to avoid thinning out your jam too much.
Do I need pectin to make this Small Batch Raspberry Jam Recipe?
No, pectin is optional here. Raspberries naturally contain pectin, which helps the jam thicken on its own. Use pectin if you prefer a noticeably firmer consistency.
How long does homemade raspberry jam last in the fridge?
Stored properly in an airtight container, your jam should stay fresh for about two weeks. Always check for signs of spoilage before use, like off smells or mold.
Can I adjust the sweetness of the jam?
Definitely! If you like your jam less sweet, try reducing the sugar slightly. Just keep in mind sugar also acts as a preservative, so don’t go too far below the recipe’s amount.
What are some ways to use leftover jam besides spreading on toast?
Use it as a topping for ice cream or yogurt, swirl into oatmeal or smoothies, drizzle over cheesecakes, or even mix into salad dressings for a fruity twist.
Final Thoughts
There’s something truly special about making your own jam, especially when it’s a Small Batch Raspberry Jam Recipe that feels personal and fresh. This recipe combines simplicity with delicious results, making it a wonderful kitchen project and a delightful treat for you or your loved ones. Give it a try and watch how a few humble ingredients transform into sweet memories!
Print
Small Batch Raspberry Jam Recipe
- Prep Time: 5 minutes
- Cook Time: 15 minutes
- Total Time: 20 minutes
- Yield: 1 serving (approximately 1 cup)
- Category: Condiment
- Method: Stovetop
- Cuisine: American
- Diet: Vegetarian
Description
This Small Batch Raspberry Jam recipe yields a delicious, homemade jam perfect for a single serving. Made with fresh or thawed raspberries, sugar, lemon juice, and an optional touch of vanilla and pectin for thickness, it cooks in about 20 minutes to create a sweet, slightly tart spread ideal for toast, desserts, or gifting.
Ingredients
Jam Ingredients
- 2 cups fresh raspberries (or frozen raspberries, thawed)
- 1 cup granulated sugar
- 1 tablespoon lemon juice
- 1/2 teaspoon vanilla extract (optional)
- 1 tablespoon pectin (optional, for thicker jam)
Instructions
- Prepare the Raspberries: Rinse fresh raspberries gently or thaw frozen raspberries completely before starting to ensure they are ready for cooking.
- Cook the Jam: Place raspberries and sugar in a saucepan over medium heat. Stir frequently, using a spoon or potato masher to slightly crush the raspberries to release their juice and help break down the fruit.
- Simmer Until Thickened: Continue to simmer the mixture for about 10 to 15 minutes, stirring occasionally to prevent sticking or burning. If using pectin, add it during this time according to the product instructions to achieve a thicker consistency.
- Test the Jam Consistency: To check if the jam is ready, place a small spoonful on a cold plate, let it cool for a minute, then run your finger through it. If it wrinkles and holds shape, the jam is done.
- Add Lemon Juice and Vanilla: Stir in the lemon juice and vanilla extract (if using) to enhance flavor and preserve the jam.
- Cool and Store: Remove the pan from heat, allow the jam to cool completely at room temperature. Transfer to a clean jar, cover, and refrigerate to set fully and preserve freshness.
- Enjoy: Spread on toast, use in desserts, or incorporate into your favorite recipes.
Notes
- Using frozen raspberries works well but be sure to thaw them fully before cooking.
- Pectin is optional; it helps the jam set firmer but is not necessary if you prefer a looser texture.
- Store the jam refrigerated and consume within 2-3 weeks for best quality.
- You can double the recipe if more servings are desired, adjusting cooking time slightly.
