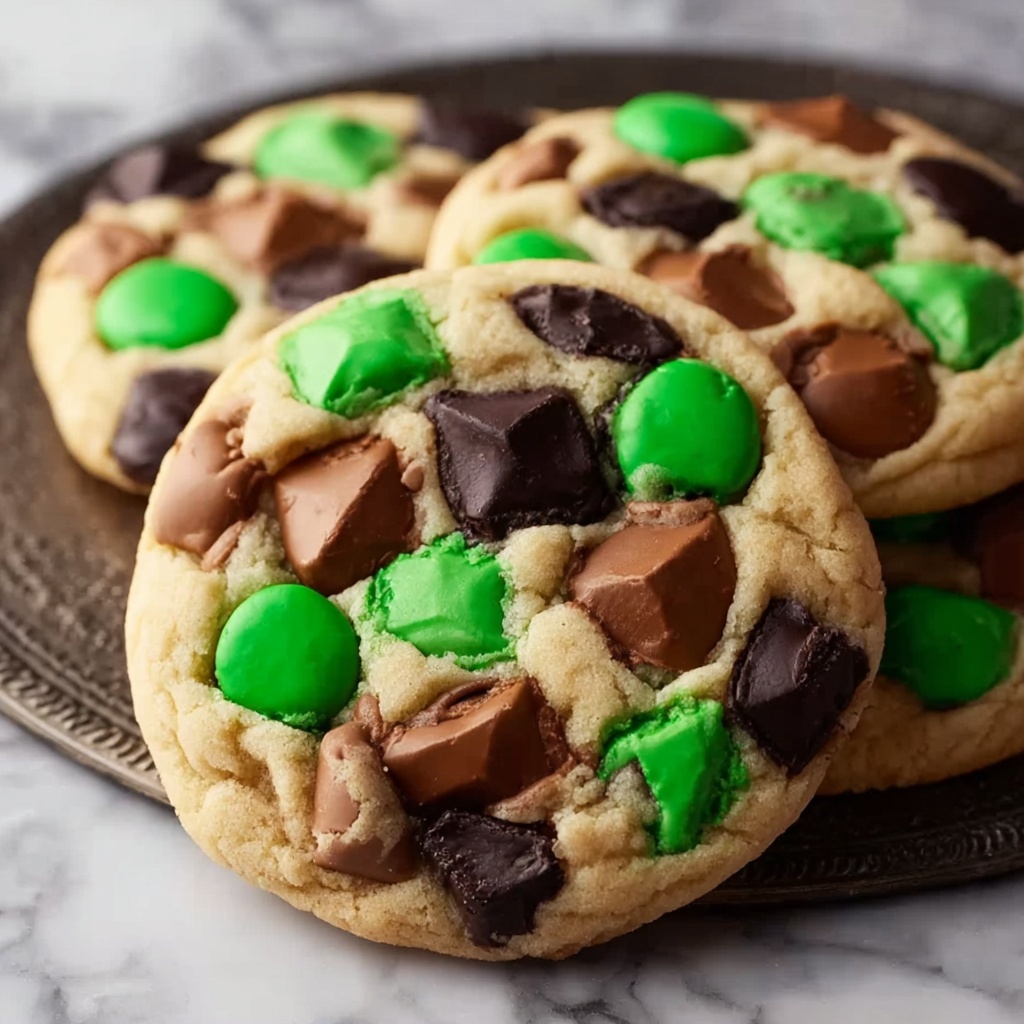
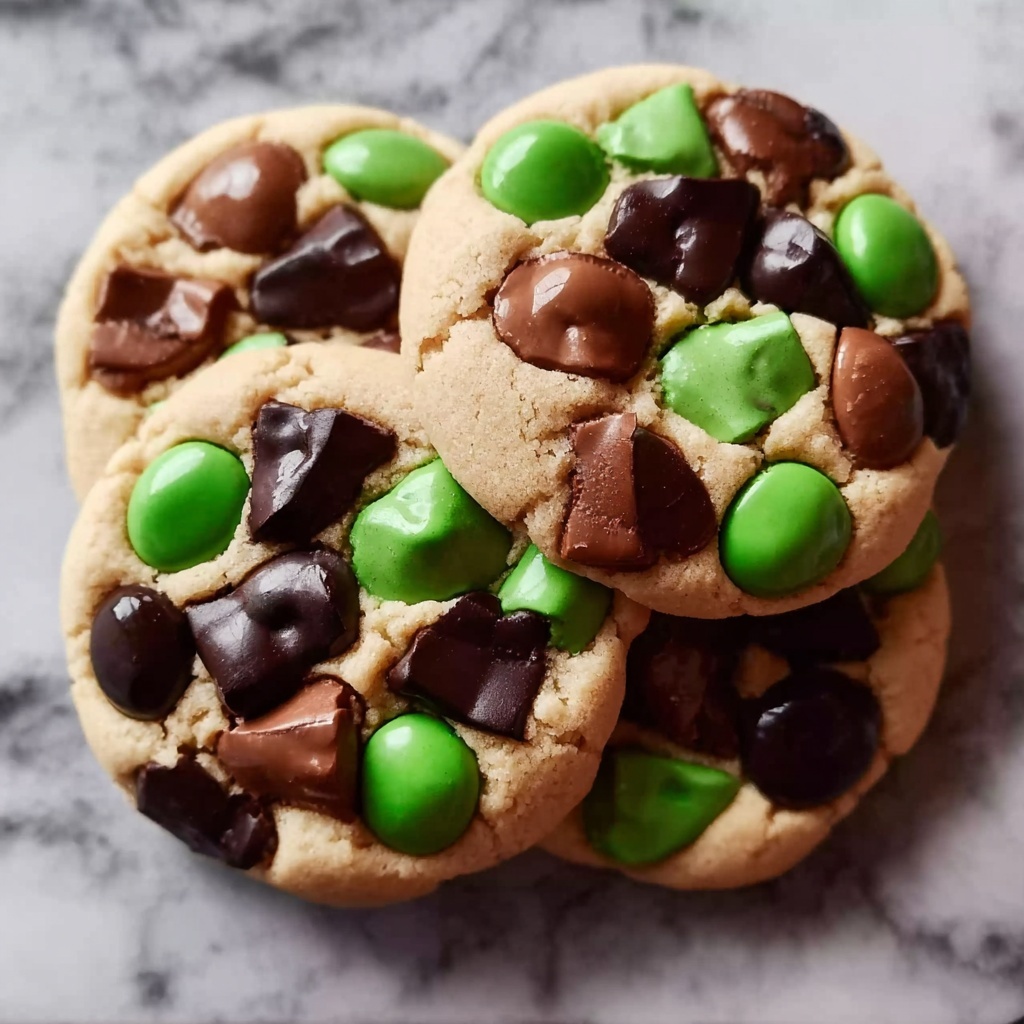
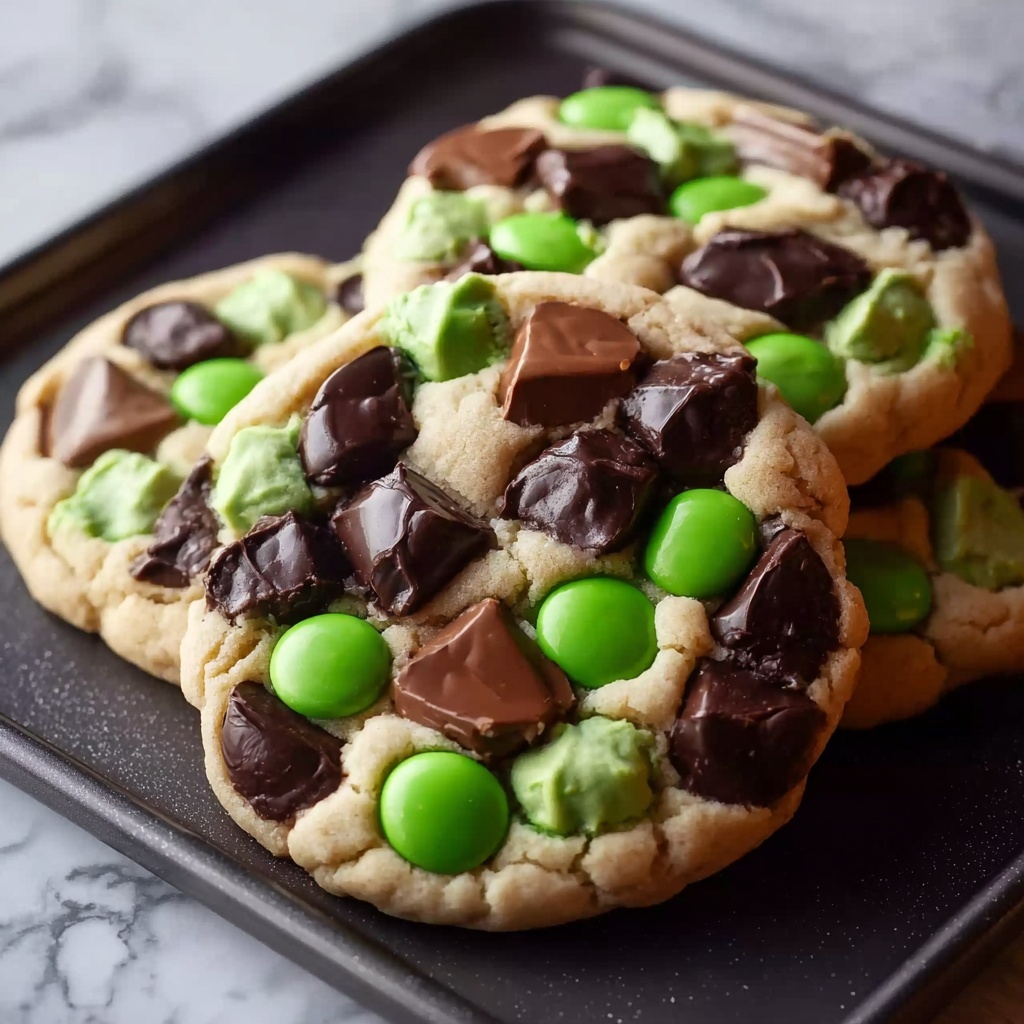
If you’re on the hunt for a playful and magical treat to wow your friends and family this Halloween season, you have to try this enchanting Hocus Pocus Cookies Recipe. It’s a colorful swirl of orange, green, and purple dough balls studded with white chocolate chips and adorned with festive sprinkles that will bring a smile to anyone’s face. This recipe balances a tender, cake-like texture with just the right touch of sweetness, making these cookies the perfect whimsical indulgence to celebrate all things spooky and fun.
Ingredients You’ll Need
Each ingredient in this Hocus Pocus Cookies Recipe plays a crucial role, combining simplicity and flavor to create something truly special. From the flours that give a tender crumb to the white chocolate chips that add creamy bursts, every element contributes to a perfectly balanced cookie experience.
- White sugar: Adds sweetness and helps achieve that light, fluffy texture.
- White chocolate chips: Provide luscious pockets of creamy sweetness in every bite.
- All-purpose flour: The base structure of your cookie, offering sturdiness without heaviness.
- Cake flour: Makes the cookies tender and soft, contributing to that melt-in-your-mouth feel.
- Baking soda: Gives the cookies a gentle rise and golden edges.
- Cornstarch: Adds softness and a delicate crumb.
- Salt: Enhances all the flavors and balances sweetness.
- Butter (softened): Infuses moisture and richness for that classic cookie delight.
- Eggs: Act as binders and add moisture to the dough.
- Vanilla extract: Lends a warm, aromatic background note that complements the sweet flavors.
- Halloween sprinkles: Bring festive color, crunch, and that extra je ne sais quoi to your cookies.
- Orange, green, and purple gel food coloring: Essential for creating the spellbinding tricolor effect that makes these cookies so special.
How to Make Hocus Pocus Cookies Recipe
Step 1: Prepare Baking Sheet
Start by lining your baking sheet with parchment paper, ensuring the cookies don’t stick and bake evenly. This simple setup saves you time and makes cleanup a breeze, so you can focus on the magic of baking.
Step 2: Cream Butter and Sugar
In a stand mixer, beat the softened butter and white sugar together on high speed until the mixture becomes light and fluffy. This step is vital because it incorporates air into the dough, giving your cookies a lovely lift and tender crumb.
Step 3: Add Eggs and Vanilla
Gradually add the eggs one at a time, beating well after each addition. Then pour in the vanilla extract. This ensures your dough stays smooth and well combined, with that irresistible hint of vanilla weaving through every bite.
Step 4: Mix Dry Ingredients
In a separate bowl, whisk together the all-purpose flour, cake flour, baking soda, cornstarch, and salt. This ensures even distribution of the leavening agents and seasoning, setting the stage for uniform cookies with perfect texture.
Step 5: Combine Wet and Dry Ingredients
Slowly add the dry ingredients to your butter mixture while mixing on medium speed. Mix just until combined to avoid overworking the dough, which keeps the cookies tender and soft rather than tough.
Step 6: Color the Dough
Divide the dough into three equal portions. Knead each with orange, green, and purple gel food coloring respectively, making sure the color is evenly distributed. This is where the recipe truly earns its Hocus Pocus magic, transforming plain dough into bright festive hues.
Step 7: Form Cookies
Take about two teaspoons from each colored dough, roll into balls, and gently press them together without blending the colors. Shape into a single ball and give it a slight flatten. This creates a vibrant, swirled appearance that’s sure to capture attention.
Step 8: Add Sprinkles and Chips
Roll the edges of the dough balls in Halloween sprinkles for a colorful crunch. Place them on your baking sheet and press a few white chocolate chips into the top and sides of each cookie for that delightful creamy bite every time.
Step 9: Chill Dough
Refrigerate the cookies for 30 minutes. This step is important to help them maintain their shape during baking and prevent spreading, so your cookies keep their magical form.
Step 10: Preheat Oven
Heat your oven to 400°F (200°C), getting it ready to turn your chilly dough into warm, fragrant cookies.
Step 11: Bake Cookies
Arrange the chilled dough balls spaced about 2 inches apart. Bake for 12 to 14 minutes until the edges are just set and lightly golden. Allow the cookies to rest on the sheet for a few minutes before transferring to a wire rack to cool completely, so they firm up perfectly.
Step 12: Store
Once cooled, place your cookies in an airtight container to keep them fresh and ready for any spontaneous magical tea parties or Halloween gatherings.
How to Serve Hocus Pocus Cookies Recipe
Garnishes
Extra sprinkles or a drizzle of melted white chocolate can make your cookies even more whimsical. Add a sprinkle of edible glitter for that enchanting sparkle that fits the Hocus Pocus vibe perfectly.
Side Dishes
Pair these cookies with a warm cup of spiced pumpkin latte or a creamy chai tea latte for an autumn-inspired treat. A scoop of vanilla ice cream also works wonders alongside these delightfully colorful confections.
Creative Ways to Present
Stack the cookies like little witch’s hats or arrange them in a vibrant swirl on festive serving platters. Wrapping them up in clear bags tied with orange and black ribbons makes a charming gift or party favor that everyone will adore.
Make Ahead and Storage
Storing Leftovers
Keep your Hocus Pocus Cookies fresh by storing them in an airtight container at room temperature. They’ll stay soft and delicious for up to a week — perfect for nibbling over multiple days.
Freezing
Want to make these ahead? Freeze unbaked dough balls individually on a tray, then transfer to a freezer bag. When ready, thaw and bake as usual. Baked cookies can also be frozen in an airtight container for up to three months without losing their charm.
Reheating
Warm up your cookies slightly in a microwave for about 10 seconds or in a preheated oven at low heat for 5 minutes. This brings back that freshly baked softness and enhances the flavor, as if they just came out of the oven.
FAQs
Can I use regular food coloring instead of gel?
While regular food coloring works, gel food coloring is more vibrant and won’t alter the dough’s consistency. Using gel ensures those bright Halloween hues really pop in the final cookies.
What if I don’t have cake flour?
You can substitute with all-purpose flour, but the texture might be a bit denser. For a softer cookie, try mixing a tablespoon of cornstarch with your all-purpose flour to mimic cake flour’s effect.
Can I make these cookies dairy-free?
Yes! Swap the butter for a plant-based margarine and use dairy-free white chocolate chips. Keep the rest of the ingredients the same for an allergy-friendly but just as magical batch.
Why do I need to chill the dough before baking?
Chilling solidifies the butter and firms up the dough, which helps prevent the cookies from spreading too much during baking. This keeps their colorful design intact and the textures just right.
How should I store leftover cookies to keep them fresh?
Use an airtight container at room temperature. Adding a slice of bread to the container can help maintain moisture and keep the cookies soft for longer.
Final Thoughts
This Hocus Pocus Cookies Recipe has quickly become one of my all-time favorites for adding a splash of festive fun to any Halloween celebration. Whether you’re baking with kids, surprising friends, or just indulging yourself, these cookies are an absolute delight from start to finish. Give it a try and watch as your kitchen fills with magic and irresistible aromas that perfectly capture the spooky spirit!
Print
Hocus Pocus Cookies Recipe
- Prep Time: 20 minutes
- Cook Time: 14 minutes
- Total Time: 44 minutes
- Yield: 24 servings
- Category: Dessert
- Method: Baking
- Cuisine: American
Description
Delight in these festive Hocus Pocus Cookies, perfect for Halloween celebrations. These colorful, soft and chewy cookies combine vibrant orange, green, and purple doughs swirled together, studded with creamy white chocolate chips and finished with spooky sprinkles for a magical treat everyone will love.
Ingredients
Cookie Dough
- 2 cups white sugar
- 1 ½ cups butter, softened
- 3 large eggs
- 3 teaspoons vanilla extract
- 2 ½ cups all-purpose flour
- 1 ½ cups cake flour
- 1 ½ teaspoons baking soda
- 1 ½ teaspoons cornstarch
- ¾ teaspoon salt
- Orange gel food coloring
- Green gel food coloring
- Purple gel food coloring
Add-ins and Decorations
- 2 cups white chocolate chips
- Halloween sprinkles
Instructions
- Prepare Baking Sheet: Line a baking sheet with parchment paper and set aside to ensure cookies bake evenly and don’t stick.
- Cream Butter and Sugar: In a stand mixer, beat the softened butter and white sugar on high speed until the mixture is light and fluffy, creating a smooth base for the dough.
- Add Eggs and Vanilla: Incorporate eggs one at a time into the butter mixture, beating well after each addition. Blend in the vanilla extract until fully combined to enhance flavor.
- Mix Dry Ingredients: Whisk together all-purpose flour, cake flour, baking soda, cornstarch, and salt in a separate bowl to ensure even distribution of leavening agents.
- Combine Wet and Dry Ingredients: Gradually add the dry mixture into the wet butter mixture, mixing on medium speed just until combined to avoid overworking the dough.
- Color the Dough: Divide the dough into three equal portions. Add orange, green, and purple gel food coloring to each portion separately and knead until color is evenly distributed, creating vibrant doughs.
- Form Cookies: Scoop about 2 teaspoons from each colored dough portion, roll into small balls, and press them gently together without blending colors. Form the combined dough into a ball and slightly flatten it.
- Add Sprinkles and Chips: Roll the edges of each dough ball in Halloween sprinkles, place them on the prepared baking sheet, and press white chocolate chips into the tops and sides for added texture and sweetness.
- Chill Dough: Refrigerate the formed cookie dough balls for 30 minutes to help them hold their shape during baking and prevent spreading.
- Preheat Oven: Heat the oven to 400°F (200°C) to prepare for baking.
- Bake Cookies: Arrange the chilled dough balls on the parchment-lined baking sheet, spacing them about 2 inches apart. Bake for 12 to 14 minutes until the edges are set. Let cookies cool on the baking sheet for a few minutes before transferring to a wire rack to cool completely.
- Store: Once fully cooled, store cookies in an airtight container to maintain freshness and softness.
Notes
- For extra festive flair, use a variety of Halloween-themed sprinkles and edible glitter to decorate the cookies.
- Ensure the dough is well-chilled before baking to prevent the cookies from spreading too much and maintain their colorful swirl patterns.

