
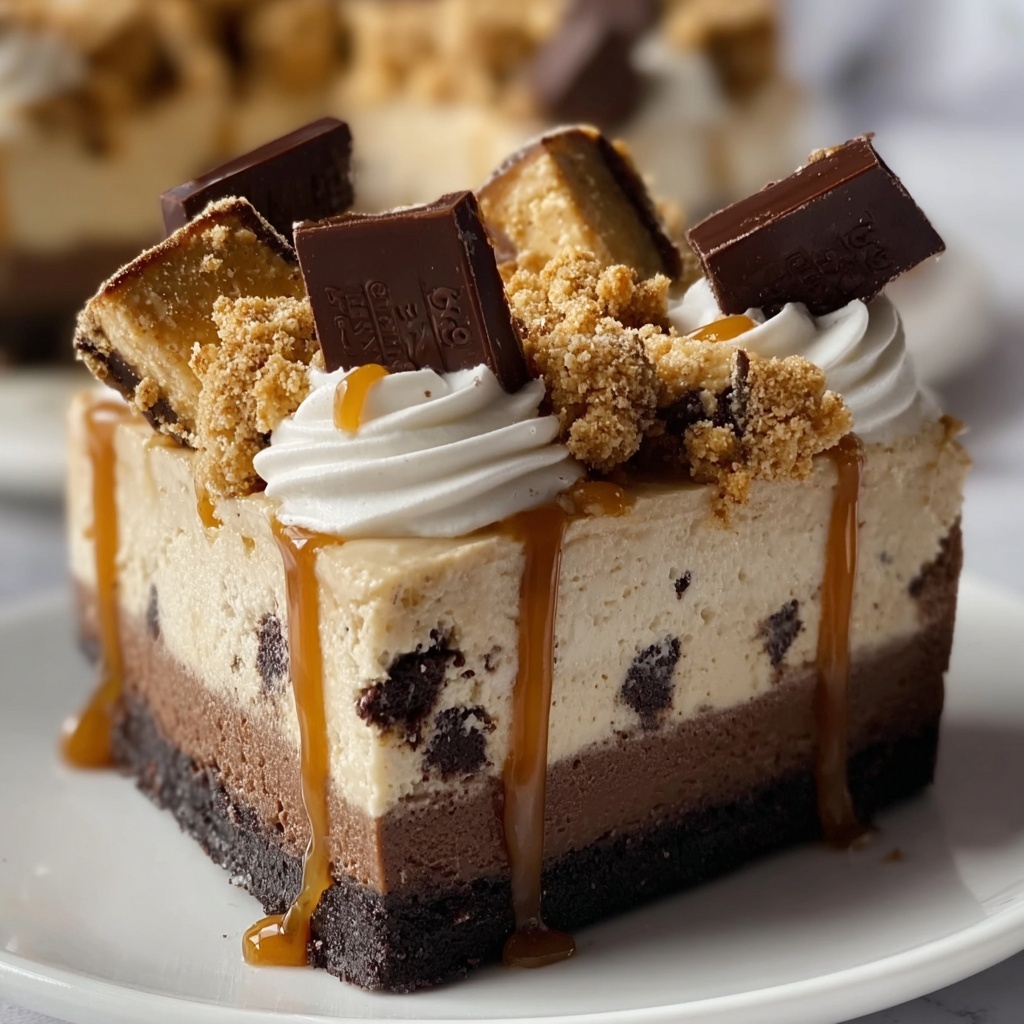
If you have a sweet tooth that craves a rich, creamy dessert with a fun and crunchy twist, this Butterfinger Cheesecake Recipe is your new best friend. Picture a luscious cheesecake base bursting with velvety cream cheese, folded lovingly with generous chunks of Butterfinger candy bars that add a delightful crunch and a buttery, nutty flavor. Finished with a fluffy whipped cream topping adorned with more Butterfinger pieces, this dessert is an irresistible celebration of texture and taste that will have everyone asking for seconds.
Ingredients You’ll Need
This Butterfinger Cheesecake Recipe calls for simple, thoughtful ingredients that create extraordinary flavors and textures when combined. Each item plays a crucial role—from the buttery, crisp crust that forms the perfect foundation, to the creamy, dreamy filling packed with candy bar bites, to the light and sweet topping that ties everything together beautifully.
- Graham cracker crumbs: Provide a crunchy and slightly sweet base that balances the creamy filling.
- Granulated sugar: Sweetens both the crust and the filling, ensuring every bite is perfectly indulgent.
- Unsalted butter: Melted to bind the crust together with a rich, buttery flavor.
- Cream cheese: The creamy heart of the cheesecake, softened for smooth blending.
- Sour cream: Adds tang and tenderness to the filling, elevating the texture.
- Eggs: The binding agents that lend structure without overpowering creaminess.
- Vanilla extract: Infuses subtle warmth and depth of flavor in both filling and topping.
- Butterfinger candy bars: Chopped into chunks and folded throughout for delightful crunch and signature flavor.
- Heavy cream: Whipped until stiff to create a light and airy topping.
- Powdered sugar: Sweetens the whipped cream topping gently without graininess.
How to Make Butterfinger Cheesecake Recipe
Step 1: Prepare the Crust
Start by preheating your oven to 325°F (160°C). In a medium bowl, combine the graham cracker crumbs, sugar, and melted butter until the mixture resembles wet sand. Press it firmly into the bottom of your 9-inch springform pan, spreading evenly. Bake this crust for about 8 minutes until it sets and becomes slightly golden. This step sets the stage for the rich, creamy filling to rest beautifully atop a sturdy, flavorful base.
Step 2: Make the Filling
With softened cream cheese in a large mixing bowl, beat until smooth and creamy — this creates the signature silky texture you want in a cheesecake. Add the granulated sugar and continue beating until the mixture looks glossy and lump-free. Incorporate the sour cream, eggs, and vanilla extract slowly, mixing just until combined to avoid overworking the batter. The secret here is gentle folding of the chopped Butterfinger candy bars so that their crunchy texture remains intact inside each slice.
Step 3: Bake to Perfection
Pour your velvety filling over the cooled crust and smooth the surface with a spatula. Bake for 55 to 65 minutes, keeping an eye for when the center looks set but still slightly jiggly—this ensures it won’t dry out. Once the baking time is up, turn off your oven, crack the door open, and let the cheesecake rest inside to cool gradually for one hour. This slow cooling prevents cracks and preserves that luscious creamy texture.
Step 4: Chill the Cheesecake
After removing from the oven, allow the cheesecake to continue chilling in the refrigerator for at least 4 hours or overnight if you can. This chilling step is crucial for the flavors to meld fully and the cheesecake to firm up perfectly, making it easier to slice and serve later.
Step 5: Whip the Topping and Assemble
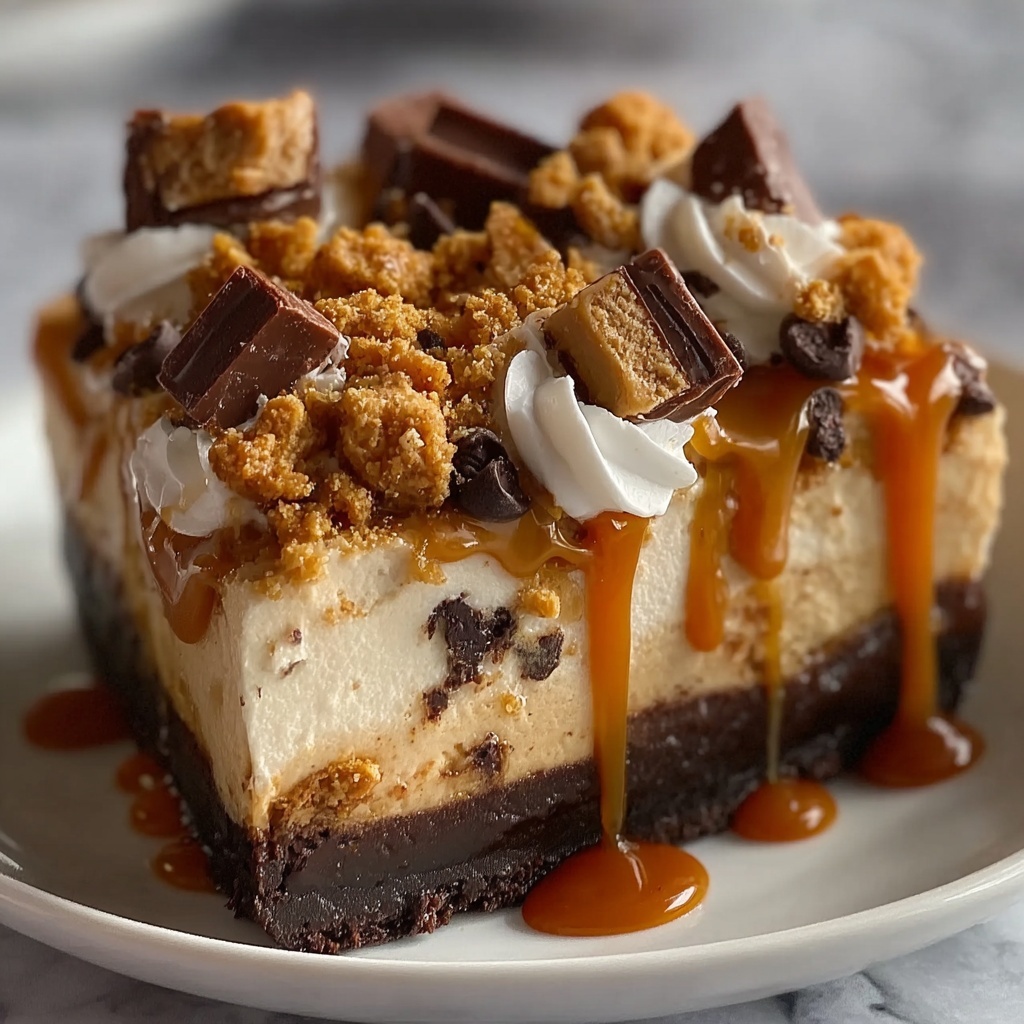
Before serving, whip the heavy cream with powdered sugar and vanilla extract until stiff peaks form—this fluffy topping adds lightness and sweetness that balance the dense, nutty filling. Spread or pipe the whipped cream evenly over the chilled cheesecake, then generously sprinkle with more chopped Butterfinger candy bars for that final decadent crunch and eye-catching presentation.
How to Serve Butterfinger Cheesecake Recipe
Garnishes
While the chopped Butterfinger candy bars on top are already a showstopper, you can add a drizzle of caramel sauce or a handful of roasted peanuts to enhance the nutty, buttery flavors even more. A few fresh strawberries or raspberries can add a bright, juicy contrast to the rich cheesecake and elevate the visual appeal for your guests.
Side Dishes
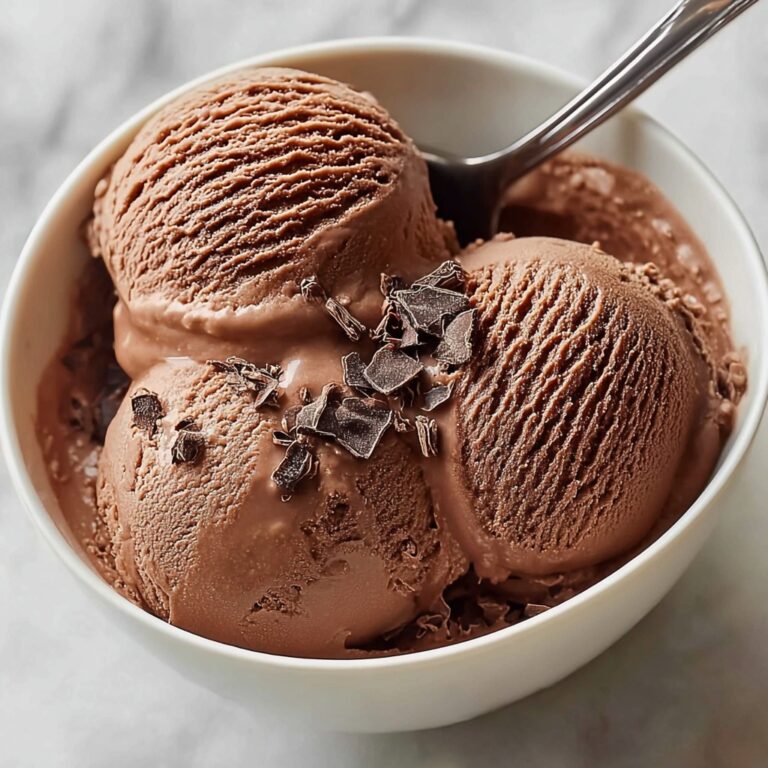
This Butterfinger Cheesecake Recipe is often the star of the show, but pairing it with a simple scoop of vanilla ice cream or a dollop of tangy whipped yogurt can create a fancy dessert spread. Fresh fruit on the side can also provide a refreshing counterpoint to the richness of the cheesecake.
Creative Ways to Present
For a festive vibe, slice the cheesecake into mini individual servings using a springform pan insert or small ramekins, then top each with a piece of Butterfinger candy. Alternatively, serve slices on decorative plates with a sprinkle of crushed candy bars and a sprig of mint to impress your guests with effortless elegance.
Make Ahead and Storage
Storing Leftovers
Wrap leftover cheesecake tightly with plastic wrap or store it in an airtight container to keep it moist and fresh in the refrigerator. Properly stored, it will keep for up to 4 days, allowing you to savor each slice without losing that delightful flavor and texture.
Freezing
You can freeze this cheesecake without the whipped cream topping. Wrap it tightly in plastic wrap and then aluminum foil to prevent freezer burn. When stored carefully, it can last up to 2 months in the freezer. Defrost it overnight in the refrigerator for best results before adding fresh whipped cream and Butterfinger pieces on top.
Reheating
Cheesecake is best enjoyed cold or at room temperature, so reheating is generally not recommended. However, if you prefer a slightly softer texture, let it sit at room temperature for 15 to 20 minutes before serving to gently soften the filling without melting the whipped topping.
FAQs
Can I use a different candy bar instead of Butterfinger in this recipe?
Absolutely! Butterfinger candy gives a unique crispy, peanut buttery crunch, but if you want to experiment, try candy bars with similar textures like Heath or Skor bars. Keep in mind the flavor profile will change, so choose candy bars that complement the creamy cheesecake filling.
How do I prevent the cheesecake from cracking?
Cracks often happen from overbaking or sudden temperature changes. Baking at a low temperature, gently mixing ingredients, and allowing the cheesecake to cool slowly in the oven with the door slightly open helps prevent cracking beautifully.
Is it necessary to use a springform pan?
While not absolutely required, a springform pan makes removing the cheesecake much easier and keeps its edges intact. If you don’t have one, line a regular cake pan with parchment paper to help with removal.
Can I make this cheesecake gluten-free?
Yes! Use gluten-free graham cracker crumbs or substitute with gluten-free cookies crushed finely for the crust. The rest of the recipe is naturally gluten-free.
Does the cheesecake need to be refrigerated after baking?
Yes, refrigeration is essential to set the cheesecake fully and keep it fresh and safe to eat. Always chill for at least 4 hours and preferably overnight before serving.
Final Thoughts
This Butterfinger Cheesecake Recipe is a sweet, satisfying indulgence that feels like a special treat every time. Its perfect balance of creamy cheesecake and crunchy, buttery candy bits creates a dessert experience that everyone will adore. I can’t wait for you to try it at home and watch your family and friends delight in every unforgettable bite!
Print
Butterfinger Cheesecake Recipe
- Prep Time: 20 minutes
- Cook Time: 1 hour
- Total Time: 6 hours (includes chilling time)
- Yield: 12 servings
- Category: Dessert
- Method: Baking
- Cuisine: American
- Diet: Vegetarian
Description
Indulge in the rich and creamy Butterfinger Cheesecake, a delightful dessert combining a buttery graham cracker crust, smooth cream cheese filling studded with chopped Butterfinger candy bars, and a light whipped cream topping garnished with more Butterfinger pieces. Perfect for any special occasion or sweet treat craving.
Ingredients
For the crust:
- 1½ cups graham cracker crumbs
- ¼ cup granulated sugar
- 6 tablespoons unsalted butter, melted
For the filling:
- 3 (8-ounce) packages cream cheese, softened
- 1 cup granulated sugar
- ¾ cup sour cream
- 3 large eggs
- 1 teaspoon vanilla extract
- 1½ cups chopped Butterfinger candy bars
For the topping:
- 1 cup heavy cream
- 2 tablespoons powdered sugar
- ½ teaspoon vanilla extract
- ½ cup chopped Butterfinger candy bars
Instructions
- Prepare crust: Preheat the oven to 325°F (160°C). In a medium bowl, combine graham cracker crumbs, sugar, and melted butter. Press mixture firmly into the bottom of a 9-inch springform pan. Bake for 8 minutes, then remove and set aside to cool.
- Make filling: In a large mixing bowl, beat cream cheese until smooth. Add sugar and mix until creamy. Blend in sour cream, eggs, and vanilla extract until just combined, being careful not to overmix. Gently fold in chopped Butterfinger candy bars. Pour filling into cooled crust and smooth top.
- Bake cheesecake: Bake for 55–65 minutes, or until center is just set and slightly jiggly. Turn off oven, crack door open, and let cheesecake cool inside for 1 hour. Remove from oven and refrigerate for at least 4 hours or overnight to set fully.
- Prepare topping: Whip heavy cream with powdered sugar and vanilla extract until stiff peaks form. Spread or pipe the whipped cream over chilled cheesecake and sprinkle with remaining chopped Butterfinger candy bars.
Notes
- For cleaner and easier slicing, dip your knife in warm water and wipe clean between cuts.
- This cheesecake freezes well without the whipped topping. Wrap tightly and freeze for up to 2 months.


