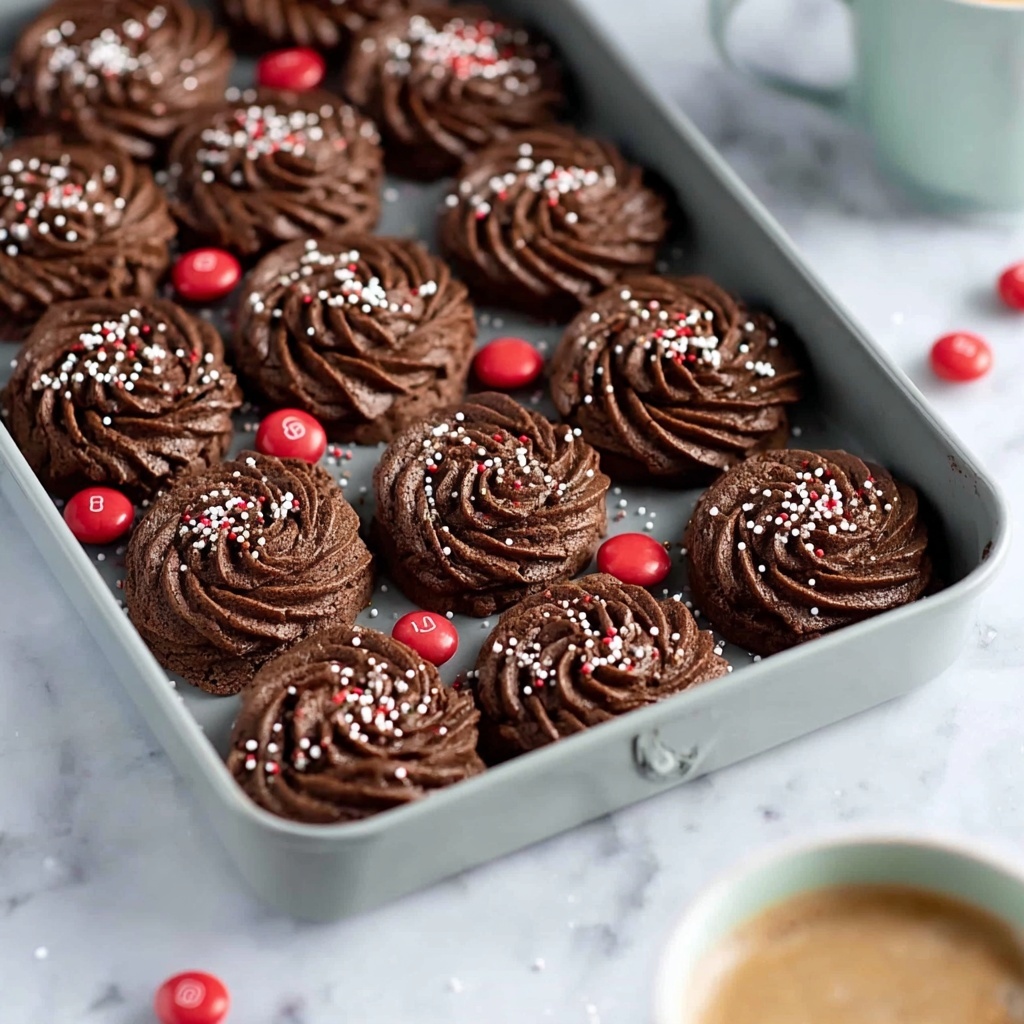
If you’re craving a delightfully rich and buttery treat that melts in your mouth with every bite, this Piped Chocolate Butter Cookies Recipe is just the answer. These cookies are the perfect balance of smooth cocoa flavor and tender buttery goodness, elegantly shaped through piping for that beautiful, homemade look. They come together quickly and are ideal for sharing with friends or savoring with your favorite cup of tea or coffee. Trust me, once you try this Piped Chocolate Butter Cookies Recipe, it will become a cherished classic in your baking repertoire.
Ingredients You’ll Need
Each ingredient in this recipe is simple, straightforward, and plays a vital role in creating the perfect texture and flavor. From the richness of unsalted butter to the slight bitterness of cocoa powder, every element matters in delivering that classic cookie experience.
- 1 cup unsalted butter, softened: The heart of the cookie, ensuring a rich, tender crumb and buttery flavor.
- ½ cup powdered sugar: Provides just the right amount of sweetness and a smooth texture when creamed with butter.
- 1 teaspoon vanilla extract: Adds depth and a warm aroma enhancing the chocolate notes beautifully.
- 1¾ cups all-purpose flour: Gives structure to the cookies while keeping them light and tender.
- ¼ cup unsweetened cocoa powder: Brings the luscious chocolate essence without extra sweetness.
- 1-2 tablespoons milk: Helps create the perfect consistency for piping, making the dough easier to shape.
- Melted chocolate for drizzling: Optional but highly recommended for an extra luxurious finishing touch.
- Sprinkles or chopped nuts: Add crunch and visual appeal as playful garnishes.
How to Make Piped Chocolate Butter Cookies Recipe
Step 1: Preheat the Oven and Prepare Baking Sheets
Start by setting your oven to 350°F (175°C) and line your baking sheets with parchment paper. This simple step ensures your cookies bake evenly without sticking, making cleanup much easier and your cookies look pristine.
Step 2: Cream Butter and Powdered Sugar
Beat the softened butter and powdered sugar together until the mixture turns light and fluffy. This usually takes about 2 to 3 minutes and is the key to a delicate, melt-in-your-mouth texture. Don’t rush it; the creaminess at this stage determines how tender your cookies will be.
Step 3: Add Vanilla and Dry Ingredients
Mix in the fragrant vanilla extract, then gradually sift in the all-purpose flour and cocoa powder. Stir everything together until you get a soft dough forming. If the dough seems too stiff for piping, add a tablespoon or two of milk to loosen it up so it flows nicely from your piping bag.
Step 4: Pipe Your Cookies
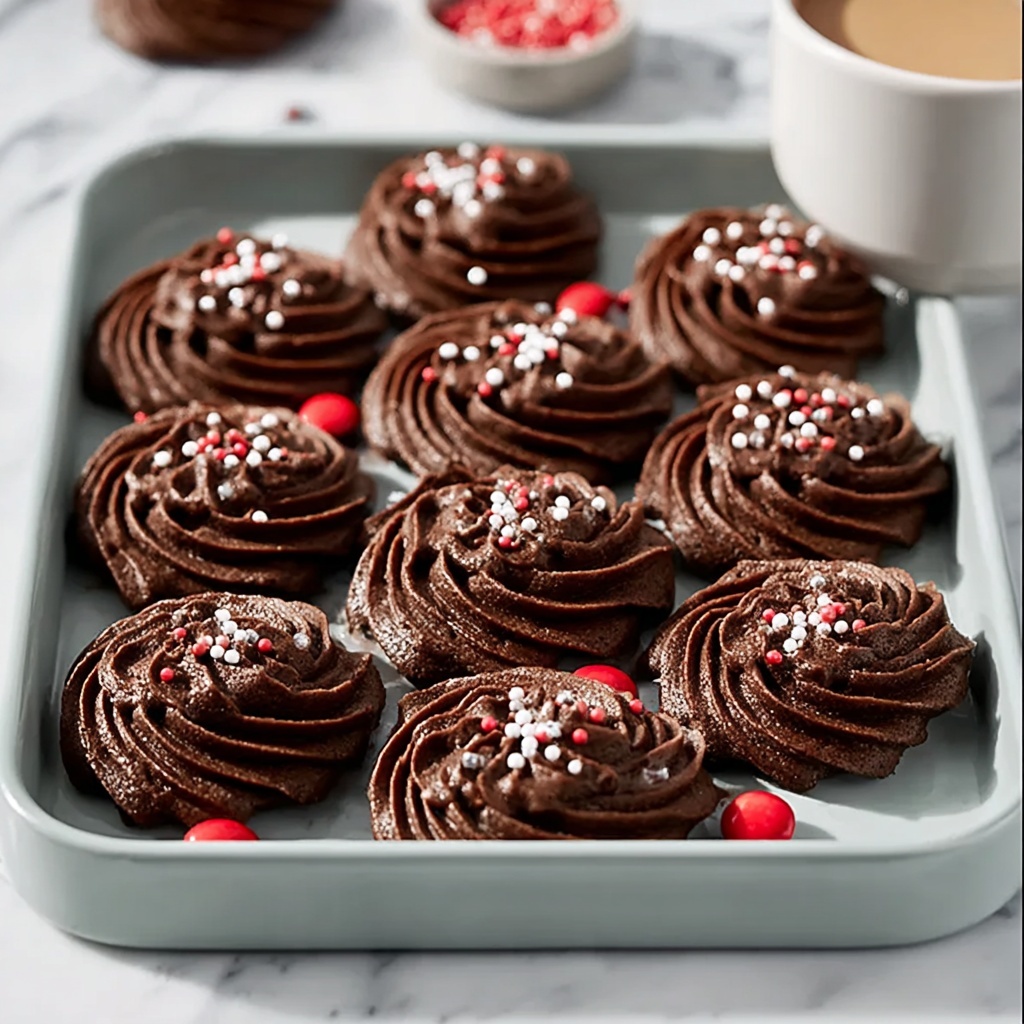
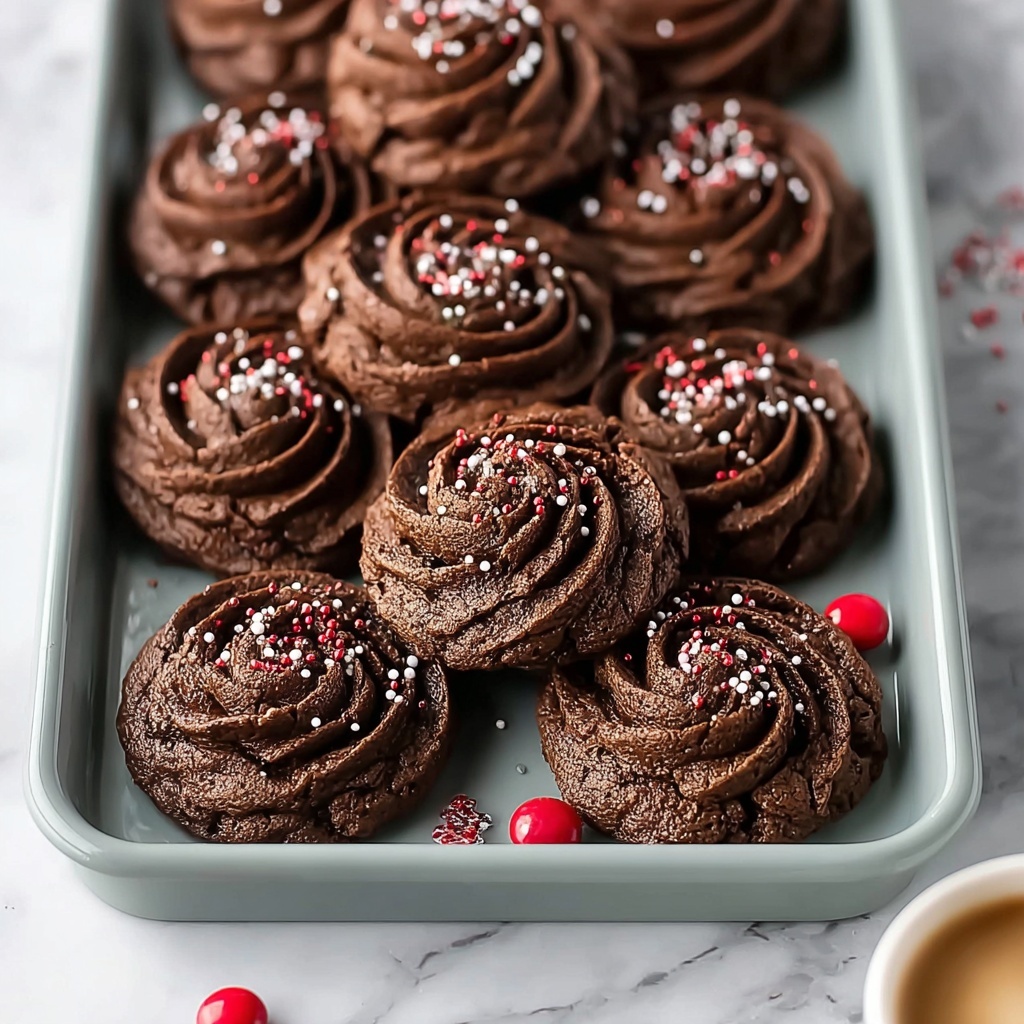
Transfer your luscious chocolate dough into a piping bag fitted with a large star tip. Pipe your favorite shapes—rosettes, stars, or ribbons—directly onto the prepared baking sheets. The piping creates those elegant ridges that bake into crispy edges and soft centers, making these cookies a feast for both the eyes and the palate.
Step 5: Bake to Perfection
Bake for about 10 to 12 minutes, just until the edges set but the cookies still feel tender. Overbaking can dry them out, so keep your eyes peeled. After baking, let them cool on the sheets for 5 minutes; this helps them firm up before you carefully transfer them to a wire rack to cool completely.
Step 6: Decorate Your Cookies
Once cooled, you can elevate these treats by drizzling melted chocolate over them or dipping the edges. Sprinkle chopped nuts or colorful sprinkles to add texture and vivid pops of color. Decorating is optional but makes the Piped Chocolate Butter Cookies Recipe irresistible for any occasion.
How to Serve Piped Chocolate Butter Cookies Recipe
Garnishes
A simple drizzle of melted chocolate, a sprinkle of crushed nuts, or even a dusting of powdered sugar adds the perfect finishing touch. These little details bring extra color, crunch, and flavor contrast that make each cookie look like a work of art.
Side Dishes
These cookies pair wonderfully with a warm cup of black coffee, hot chocolate, or a spiced chai latte. The richness of the butter and chocolate beautifully complements your favorite cozy beverages, making every bite feel indulgent and comforting.
Creative Ways to Present
If you’re bringing these cookies to a gathering, consider arranging them on a tiered dessert stand or nestled in decorative parchment cups. You could also package them in pretty tins tied with ribbon for heartfelt homemade gifts. The elegance of the piping technique truly shines in presentation, making them a standout treat.
Make Ahead and Storage
Storing Leftovers
These cookies stay fresh in an airtight container at room temperature for up to a week. Make sure they’re completely cooled before storing to avoid sogginess, and place parchment paper between layers to keep them from sticking together.
Freezing
You can freeze both the raw dough and the fully baked cookies. For the dough, pipe shapes onto a baking sheet, freeze until firm, then transfer to a freezer bag for up to three months. Bake from frozen with a minute or two added to baking time. Baked cookies freeze well too—wrap tightly to maintain freshness.
Reheating
To bring back that fresh-baked feel, warm the cookies in a 300°F (150°C) oven for 5 minutes before serving. This softens them slightly and revives their buttery aroma, making every bite feel like it just came out of the oven.
FAQs
Can I use salted butter instead of unsalted?
Using salted butter is possible but keep in mind it will add saltiness to your cookies. Reduce any extra salt in other recipes accordingly or stick to unsalted butter for the most controlled and classic flavor.
What piping tip works best for these cookies?
A large star tip is ideal as it creates those beautiful ridges that bake up crisp and charming. If you don’t have one, a large round tip can also work, but the texture won’t be as decorative.
Can I make these cookies dairy-free?
Yes, by substituting the butter with a dairy-free margarine or coconut oil and using a plant-based milk, you can adapt this recipe. Keep in mind texture might vary slightly but flavor remains fantastic.
Do the cookies spread much while baking?
Thanks to the piping method and the dough’s firmness, these cookies hold their shape well and spread minimally. Just be sure not to over-soften your butter to keep the structure intact.
How do I get the perfect piping consistency?
If your dough feels too stiff, add milk a teaspoon at a time until it’s just soft enough to pipe easily but still holds its shape. Too much liquid will make the cookies lose their definition.
Final Thoughts
There’s something truly joyful about making and sharing this Piped Chocolate Butter Cookies Recipe. Its simplicity, combined with that classic chocolatey richness and buttery tenderness, can brighten any day or celebration. So grab your piping bag, whip up this easy dough, and treat yourself and your loved ones to these gorgeous cookies that always feel like a little piece of happiness from the oven.
Print
Piped Chocolate Butter Cookies Recipe
- Prep Time: 10 minutes
- Cook Time: 12 minutes
- Total Time: 30 minutes
- Yield: 24 servings
- Category: Dessert
- Method: Baking
- Cuisine: American
Description
Delightful piped chocolate butter cookies that are rich, buttery, and perfectly textured. These cookies feature a smooth cocoa-infused dough piped into elegant shapes, baked to a tender crisp, and optionally adorned with drizzled chocolate and festive sprinkles or chopped nuts. Perfect for holiday treats or anytime indulgence.
Ingredients
Cookie Dough
- 1 cup unsalted butter, softened
- ½ cup powdered sugar
- 1 teaspoon vanilla extract
- 1¾ cups all-purpose flour
- ¼ cup unsweetened cocoa powder
- 1–2 tablespoons milk (as needed for piping consistency)
Decoration (Optional)
- Melted chocolate for drizzling
- Sprinkles or chopped nuts
Instructions
- Preheat the Oven: Preheat your oven to 350°F (175°C) and line baking sheets with parchment paper to prevent sticking and ensure even baking.
- Cream Butter and Sugar: In a large bowl, beat the softened unsalted butter and powdered sugar together until the mixture is light and fluffy, which should take about 2 to 3 minutes. This step is essential for a tender cookie texture.
- Add Vanilla and Dry Ingredients: Mix in the vanilla extract until well combined. Gradually incorporate the all-purpose flour and cocoa powder into the wet mixture, mixing just until a soft dough forms. Add 1 to 2 tablespoons of milk as needed to reach a consistency suitable for piping.
- Prepare for Piping: Transfer the dough into a piping bag fitted with a large star tip. Pipe your desired shapes onto the prepared baking sheets, spacing them evenly to allow for slight spreading while baking.
- Bake: Bake the cookies in the preheated oven for 10 to 12 minutes, or until the edges are set but the centers remain slightly soft. Remove from the oven and allow cookies to cool on the baking sheets for 5 minutes to firm up before transferring them to a wire rack to cool completely.
- Decorate (Optional): Once the cookies are fully cooled, drizzle with melted chocolate or dip them partially for an extra touch of decadence. Sprinkle with your choice of sprinkles or chopped nuts for added texture and festive flair.
Notes
- Ensure the butter is softened to room temperature for easier creaming with sugar.
- Adjust the milk quantity carefully to achieve a pipeable dough without it being too runny.
- Use parchment paper or silicone baking mats to prevent sticking and for easy cleanup.
- Cookies can be stored in an airtight container at room temperature for up to one week.
- Variations include using white chocolate for drizzling or different flavored extracts like almond or peppermint instead of vanilla.

