Delicious Gipfeli Recipe: How to Make the Perfect Swiss Pastry
Traveling through Switzerland, I remember the flaky, buttery taste of Gipfeli. These treats are a favorite in Swiss bakeries. The mix of simplicity and rich flavor makes Gipfeli loved by all.
In this article, I’ll show you how to make Gipfeli at home. You’ll get a traditional Swiss pastry recipe for tender, golden pastries. With simple ingredients and patience, you can enjoy Swiss flavors in your kitchen.
Table of Contents
The Swiss Delight: Understanding Gipfeli
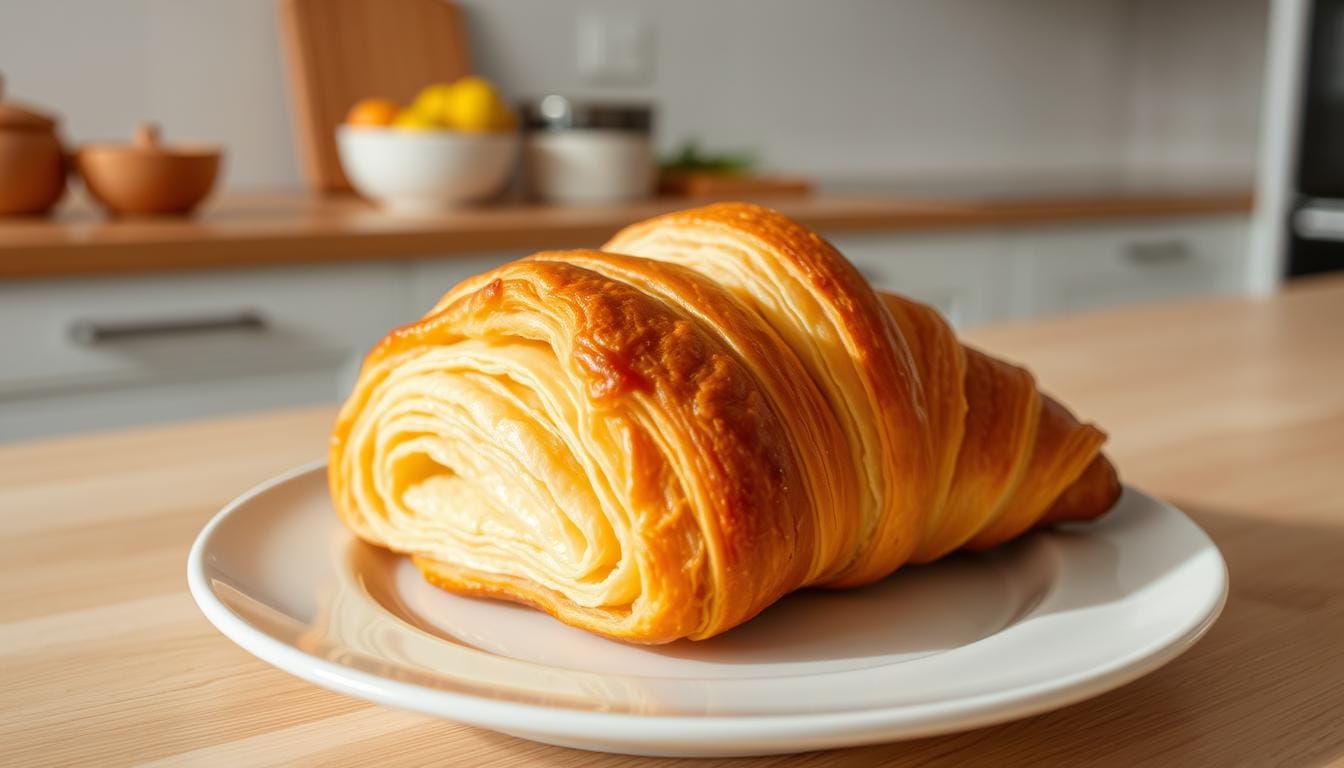
Gipfeli, also known as Swiss crescent rolls, captures the heart of Swiss baking. These pastries are famous for their flaky, buttery layers. They are a favorite in Swiss bakeries.

What Are Gipfeli?
Gipfeli are traditional Swiss pastries, similar to croissants but with their own twist. They’re made with a special dough that’s layered with butter. This creates their flaky texture. Making homemade gipfeli is a labor of love that’s rewarding.
The Cultural Significance in Swiss Cuisine
In Switzerland, Gipfeli is more than a pastry; it’s a cultural treasure. People love to enjoy them for breakfast or as a snack. A Swiss baker said, “Gipfeli is a symbol of our baking tradition and community.” This shows the love and care in every Gipfeli made.
Gipfeli vs. Croissants: Key Differences
Gipfeli and croissants may look similar, but they’re not the same. Gipfeli are softer and less flaky than croissants. The dough and lamination process also differ. Gipfeli are often called a buttery crescent roll with a unique taste.
My Authentic Gipfeli Recipe: Ingredients Overview
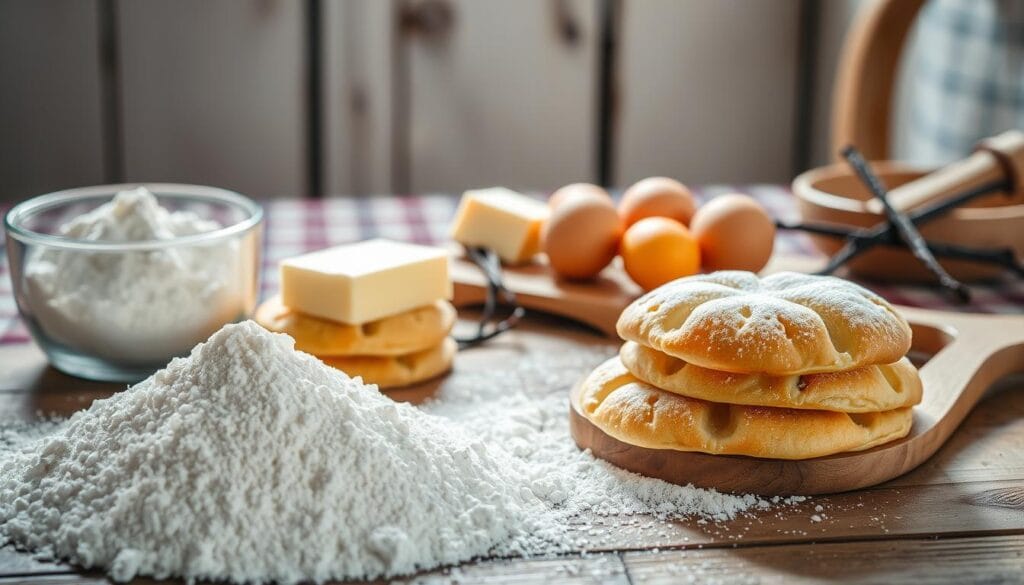
My Gipfeli recipe focuses on a few key ingredients for a flaky, buttery dough. It’s important to know how each ingredient works together.
The Flour Selection
Choosing the right flour is key for an authentic Swiss Gipfeli. I suggest using bread flour or strong all-purpose flour. These flours give the dough the right structure and texture.
The flour’s quality is vital for the final taste and texture of the Gipfeli.
Butter Quality Matters
The butter in Gipfeli makes it flaky and buttery. European-style butter with high fat content is best. It creates the layers needed for a tender Gipfeli.
Quality butter ensures the Gipfeli taste rich and have the perfect texture.
Other Key Ingredients
Ingredients like yeast, salt, and sugar are also crucial. Yeast makes the dough rise, while salt and sugar balance the flavors.
Getting the right mix of these ingredients is key for a successful easy Gipfeli recipe.
Tools and Equipment You’ll Need
Before starting the Swiss pastry recipe, you need the right tools for homemade Gipfeli. The correct equipment makes the process easier and ensures your Gipfeli are perfect.
Essential Baking Tools
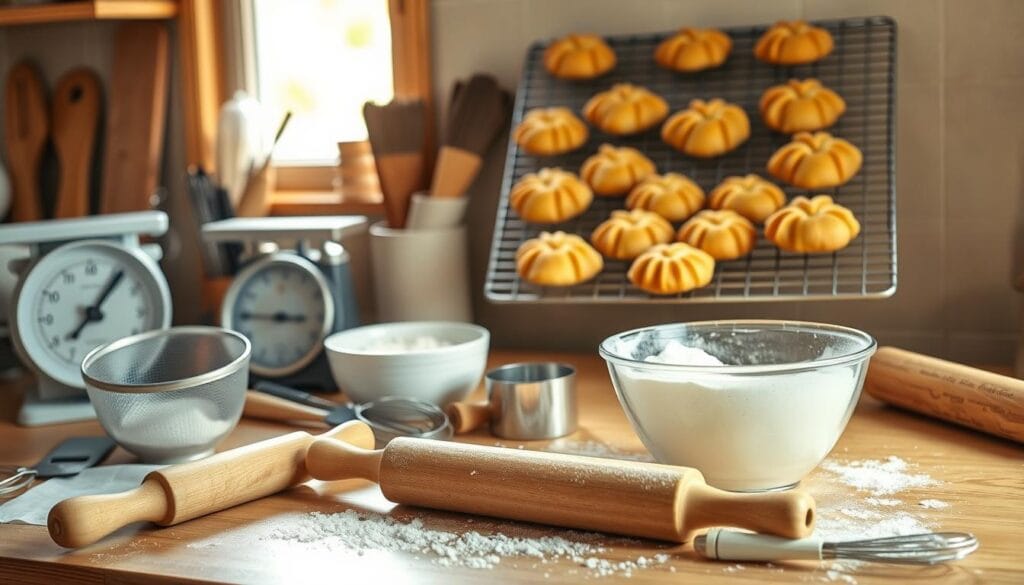
You’ll need some essential baking tools to begin. These include a mixing bowl, a measuring scale, a dough scraper, a rolling pin, and a baking sheet. A high-quality mixing bowl is key for mixing and kneading the dough. You also need a reliable measuring scale for accurate measurements.
Nice-to-Have Equipment
While not necessary, a stand mixer or a dough laminator can make things easier. These tools help with kneading and laminating the dough. This is important for creating the flaky layers of Swiss Gipfeli. Also, a silicone baking mat helps your Gipfeli bake evenly.
Planning Your Baking Schedule
Before you start making Gipfeli, it’s key to plan your baking schedule. Making traditional Swiss baked goods like Gipfeli takes time and patience. Knowing the timeline is important for the best results in your gipfeli recipe.
Day 1: Dough Preparation
On the first day, you’ll work on the dough. You’ll mix the ingredients, knead the dough, and let it rest. Top pastry chefs say, “The quality of the dough is key to your Gipfeli’s success.” Proper dough preparation is essential for the lamination process.
Day 2: Lamination, Shaping, and Baking
The second day is for lamination, shaping, and baking your Gipfeli. Roll out the dough, layer it with butter, fold it, and shape the Gipfeli. Following your gipfeli recipe carefully is crucial. Make sure to keep the right temperature and environment for proofing and baking. This will help you get the perfect flaky layers and golden crust.
Preparing the Dough: The Foundation of Perfect Gipfeli
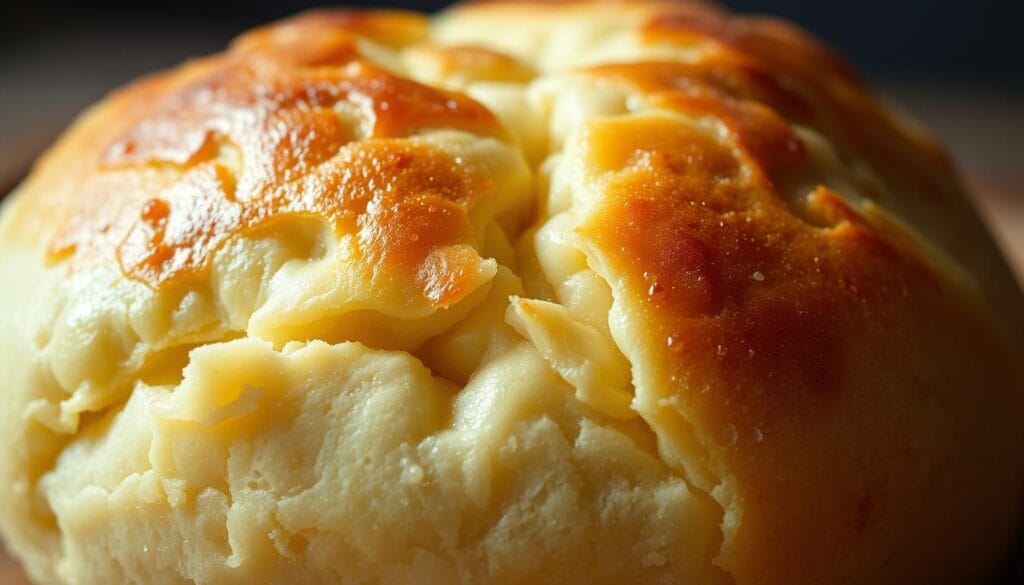
Making perfect Gipfeli starts with the dough. It needs patience and careful steps. To get a flaky buttery dough, mix ingredients right, let the dough rest, and use top-notch butter.
Step1: Mixing the Dough Ingredients
Start by mixing the dough ingredients. In a big bowl, mix 2 cups of warm milk, 1/2 cup of sugar, and 2 teaspoons of yeast. Wait 5-10 minutes for it to get frothy. Next, add 3 cups of flour, 1 teaspoon of salt, and 1/4 cup of melted butter. Mix until it’s a shaggy dough. Be gentle to avoid overworking.
Step2: Initial Dough Rest
After mixing, let the dough rest. Cover it with plastic wrap or a damp cloth. Place it in a cool, draft-free spot. Rest for about 1 hour, or until it doubles in size. This step is key for the dough’s texture.
Step3: Preparing the Butter Block
While the dough rests, make the butter block. Soften 1 cup of unsalted butter to room temperature. Roll it out between parchment paper into a 1/2-inch thick rectangle. Make it a bit bigger than the dough rectangle. This ensures the butter stays pliable.
The Lamination Process: Creating Flaky Layers
To get the flaky layers of Gipfeli, you need to master the lamination process. This process involves folding dough and butter layers. It’s what makes Gipfeli so special.
Step4: First Fold – Encasing the Butter
The first step is to wrap the butter in dough. Roll out the dough big enough to cover the butter. Make sure the butter is as soft as the dough to avoid tears.
After wrapping, roll the dough to the right thickness. This gets it ready for the next step.
Tip: Use high-quality butter for the best taste and texture. European-style butter works best because it has more fat.
Step5: Second and Third Folds
The second and third folds are key for flaky layers. After the first fold, rotate the dough 90 degrees and roll it out again. Do this twice more, resting the dough in between.
Each fold adds more layers. After three folds, you get 27 layers.
| Fold Number | Layers Created | Dough Rest Time |
|---|---|---|
| 1st Fold | 3 Layers | 1 hour |
| 2nd Fold | 9 Layers | 30 minutes |
| 3rd Fold | 27 Layers | 1 hour |
Step6: Final Rest Before Shaping
After the last fold, the dough rests in the fridge. This is important for relaxing the gluten. It makes the dough easier to shape and enhances flavor.
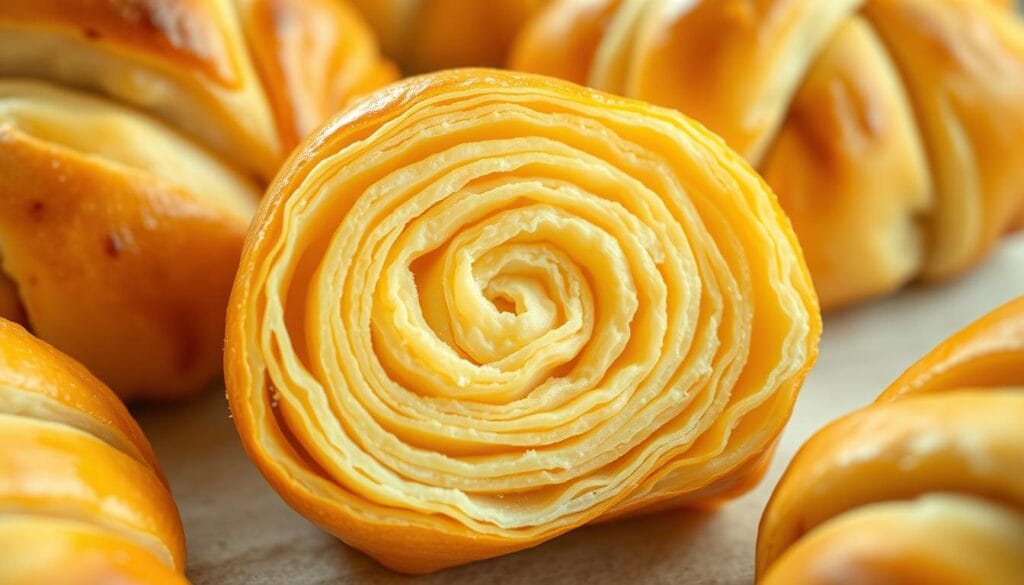
Controlling temperature and resting time is crucial. It ensures your Gipfeli are light and flaky, just like authentic Swiss Gipfeli.
Shaping Your Swiss Gipfeli
It’s time to shape our dough into beautiful Swiss crescent rolls. This step is key to getting the Gipfeli shape we all love.
Step7: Rolling Out the Dough
To start, roll out the dough to the right thickness. Use a lightly floured surface to prevent sticking. Roll the dough to about 1/4 inch (6 mm) thick, keeping even pressure to avoid thin spots.
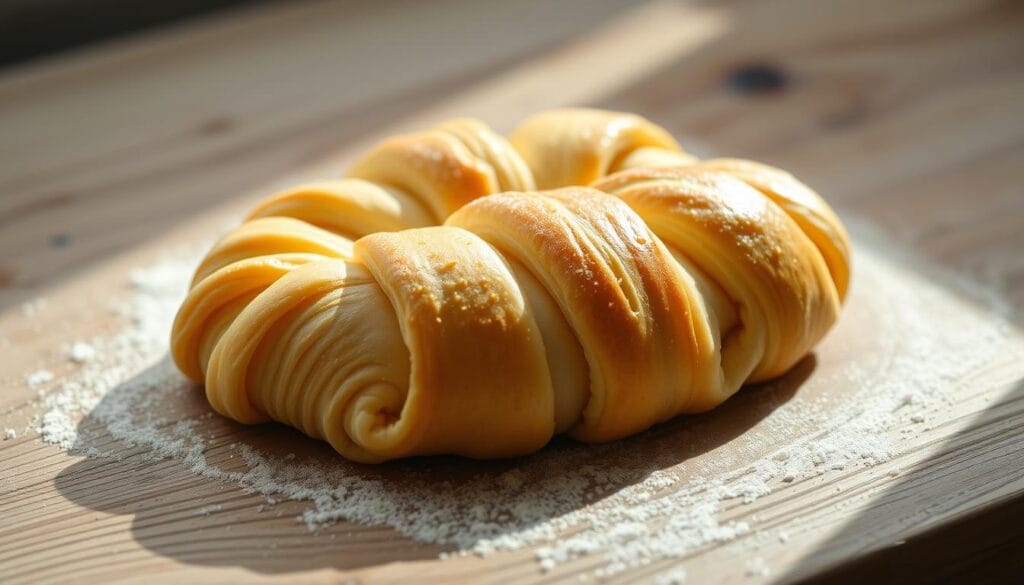
As you roll, check for air pockets or uneven areas. If you find any, gently adjust the dough to make it smooth and even.
Step8: Cutting and Shaping Techniques
Now, cut and shape our Gipfeli. Use a pastry cutter or sharp knife to cut the dough into triangles, aiming for uniform shapes. For traditional Gipfeli, cut the triangles into long, thin shapes.
- Cut the dough into 12-16 triangles, depending on your preferred size.
- Roll each triangle into a crescent shape, starting from the wide end.
- Place the rolled Gipfeli on a parchment-lined baking sheet, leaving about 1 inch of space between each pastry.
When shaping your Gipfeli, handle the dough gently to avoid developing the gluten. This will keep your Gipfeli flaky and tender.
Proofing and Baking to Perfection
Making perfect Gipfeli needs the right ingredients and careful proofing and baking. These steps are key to getting their unique flavor and texture.
Step 9: Proper Proofing Methods
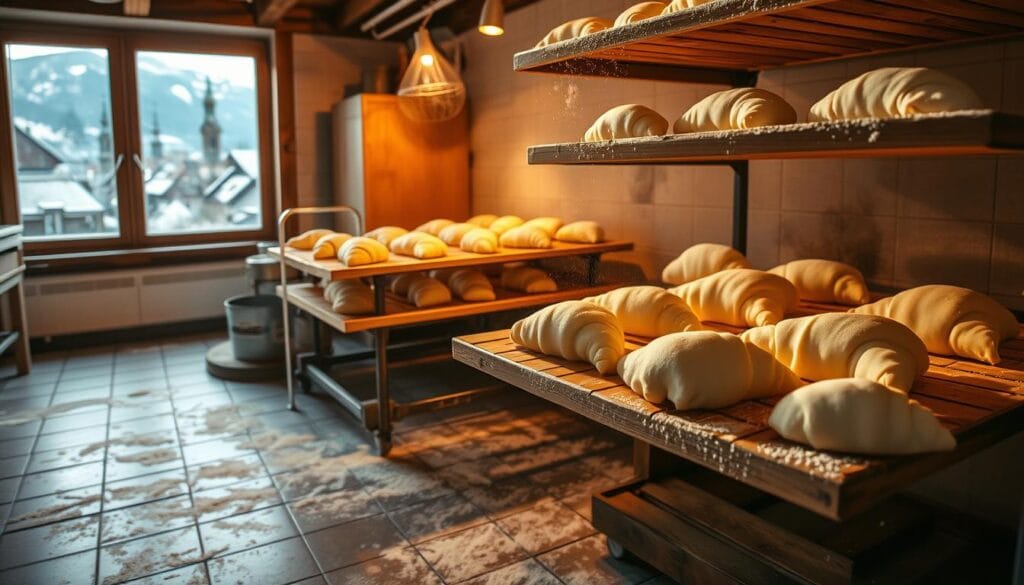
Proper proofing is key for Gipfeli’s layers and texture. Place them in a warm, draft-free spot. Let them rise until they double in size. This step is vital for their texture and taste.
The best proofing temperature is 75°F to 80°F (24°C to 27°C). You can use a proofing cabinet or a warm kitchen. Use plastic wrap or a damp cloth to keep them moist.
Step 10: Egg Wash Application
An egg wash makes Gipfeli golden brown and shiny. Mix one egg with a tablespoon of water until smooth. Brush this over the Gipfeli evenly.
Be gentle when brushing to avoid deflating the pastry. A light touch will give you a beautifully glazed Gipfeli.
Step 11: Baking Temperature and Timing
Bake Gipfeli at 400°F (200°C) for the right time. Put them on a baking sheet lined with parchment paper. Leave space for them to expand.
Bake for 15 to 20 minutes, until they’re golden. The time may change based on your oven and Gipfeli size.
| Baking Temperature | Baking Time | Result |
|---|---|---|
| 400°F (200°C) | 15-20 minutes | Golden Brown Gipfeli |
| 375°F (190°C) | 20-25 minutes | Pale Gipfeli |
| 425°F (220°C) | 10-15 minutes | Overly Browned Gipfeli |
Troubleshooting Common Gipfeli Problems
Troubleshooting is key to mastering Gipfeli baking. Even with a precise recipe and careful preparation, issues can still occur. In this section, I’ll cover some common problems and solutions to help you get the perfect flaky buttery dough every time.
Butter Leakage Issues
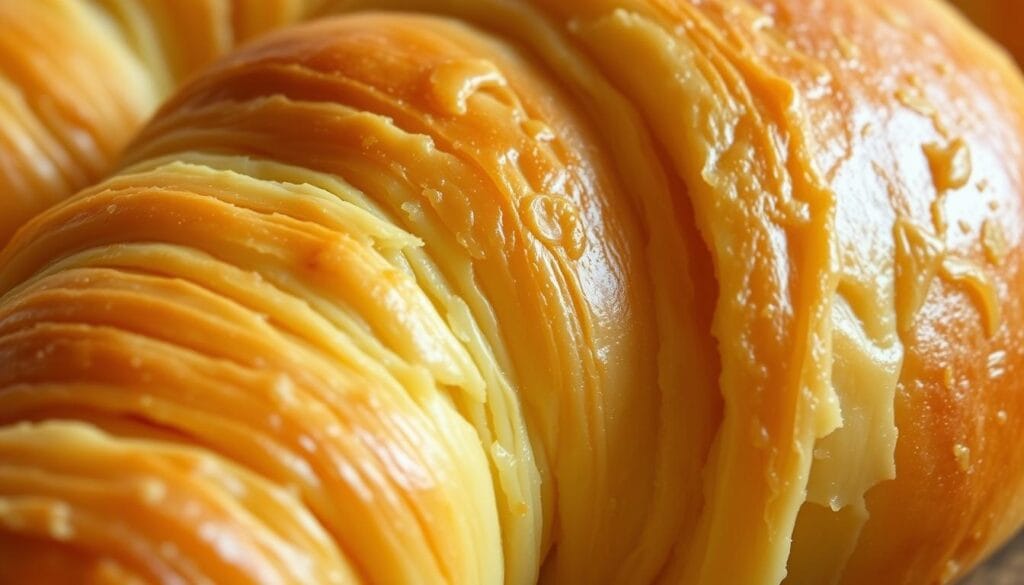
Butter leakage is a common problem when making Gipfeli. This can happen if the butter block isn’t properly wrapped in dough or if lamination isn’t done right. To avoid this, make sure your dough and butter are at the right temperature. Also, keep the layers even during lamination.
If you still see leakage, try adjusting the butter block size or improving your folding technique.
Dough Not Rising Properly
If your Gipfeli dough isn’t rising as expected, several factors could be at play. First, check the freshness and activity of your yeast. Make sure your dough is proofing in a warm, draft-free spot. Also, consider the type of flour used, as some may need more yeast or longer proofing times.
Being patient and giving your dough enough time to proof is crucial for the right texture.
Achieving the Perfect Color and Texture
Getting the perfect color and texture is essential for a successful easy gipfeli recipe. For a golden-brown finish, apply an egg wash evenly before baking. Keep an eye on your Gipfeli while they’re baking, as oven temperatures can differ.
If your Gipfeli are browning too fast, try reducing the oven temperature or covering them with foil. The goal is to get a flaky inside and a beautifully colored outside.
Pro Tips for the Best Gipfeli Recipe Results
To make your Gipfeli the best, learn about dough handling and temperature control. Here are some expert tips for your authentic Swiss Gipfeli recipe.
Temperature Control Secrets
Temperature is key for buttery crescent rolls to turn out right. Here are some tips:
- Keep butter and eggs cold until you use them.
- Make sure your workspace is cool when working with dough.
- Check your oven temperature to bake perfectly.
Right temperature during lamination is vital for flaky layers in Gipfeli.
Working with Dough Efficiently
Handling dough well is crucial. Gentle handling stops the dough from getting tough.
- Roll out the dough evenly for even baking.
- Cut the dough cleanly to avoid waste and ensure shapes are even.
- Proof the Gipfeli in a warm, draft-free place for even rising.
Mastering temperature control and dough handling will help you make delicious, authentic Swiss Gipfeli. They’ll impress everyone.
Delicious Variations of the Classic Gipfeli
Gipfeli, the quintessential Swiss pastry, offers a versatile canvas for culinary creativity. While the classic recipe is a delight on its own, experimenting with different flavors and ingredients can lead to exciting new variations.
Sweet Gipfeli Variations
Sweet Gipfeli variations are perfect for those with a sweet tooth. You can create chocolate-filled Gipfeli by incorporating high-quality dark chocolate into the dough or using it as a filling. Another option is to add dried fruits like cranberries or cherries to the dough for a fruity twist.
For a more decadent treat, try making Gipfeli with a Nutella filling or topping them with a caramel glaze. The key is to balance the sweetness with the flaky, buttery layers of the Gipfeli. I find that a sprinkle of sea salt on top adds a delightful contrast.
Savory Gipfeli Options
On the savory side, Gipfeli can be adapted to suit various tastes. One popular variation is to add herbs like rosemary or thyme to the dough, giving the pastry a fragrant, savory flavor. You can also incorporate cheese, such as Gruyère or Parmesan, into the dough or use it as a filling.
For a more substantial snack, consider making Gipfeli with ham or bacon bits mixed into the dough. The smoky, salty flavor pairs beautifully with the richness of the butter. Experimenting with different combinations can lead to a unique homemade Gipfeli recipe that suits your taste preferences.
Serving Suggestions for Your Homemade Gipfeli
Mastering the Gipfeli recipe is just the start. The next step is to think about how to serve it. Serving Gipfeli is more than just presenting a tasty pastry. It’s about creating a memorable experience.
Traditional Swiss Pairings
Gipfeli is traditionally enjoyed with a strong cup of coffee or tea. It’s a great choice for breakfast or an afternoon snack. In Switzerland, it’s common to pair Gipfeli with cheeses, cold cuts, or as part of a Swiss breakfast buffet. Gipfeli’s simplicity lets it enhance a variety of flavors without taking over.
Here’s a simple table illustrating traditional Swiss pairings:
| Pairing | Description |
|---|---|
| Coffee | A classic combination that’s hard to beat. |
| Cheese | Soft cheeses like Brie or Camembert complement Gipfeli nicely. |
| Cold Cuts | Thinly sliced meats add a savory element. |
Modern Serving Ideas
For a modern twist, try serving Gipfeli with fruit preserves or on a dessert platter. You can also use Gipfeli as a sandwich base or a side to soups and salads. Gipfeli’s versatility makes it perfect for any meal or event.
Storing and Preserving Your Gipfeli
Now that you’ve learned to make homemade gipfeli, let’s talk about keeping them fresh. Storing them right is key to keeping their taste, texture, and quality.
Keeping Them Fresh
To keep your gipfeli fresh, put them in an airtight container at room temperature for up to 2 days. You can also store them in the fridge for up to 5 days. It’s important to cool the gipfeli completely before storing to avoid moisture buildup and sogginess.
Freezing and Reheating Tips
For longer storage, freeze your gipfeli. Place them on a baking sheet lined with parchment paper and freeze until solid. Then, put the frozen gipfeli in a freezer-safe bag or container. When you’re ready, reheat the frozen gipfeli in a preheated oven at 350°F (175°C) for 5-7 minutes, or until they’re warm.
Conclusion
Now you know how to make authentic Swiss Gipfeli. This guide has prepared you to create delicious Swiss crescent rolls. They will surely impress your family and friends.
By following this article, you can make flaky, buttery Gipfeli just like Swiss bakeries. Try different fillings, like sweet or savory, to make it your own.
As you get better at making Swiss Gipfeli, you’ll enjoy baking and sharing these treats. So, get your ingredients ready, roll up your sleeves, and enjoy the flavors of Switzerland at home.
FAQ
What is the difference between Gipfeli and croissants?
Can I make Gipfeli with a different type of flour?
How do I achieve the perfect lamination for my Gipfeli?
Can I freeze Gipfeli dough for later use?
How do I store leftover Gipfeli to keep them fresh?
Can I make sweet Gipfeli variations using this recipe?
Have You Tried Our Recipe Yet?
i tried this recipe and i like it
Absolutely delicious! 🍽️🔥 I tried your recipe, and it turned out amazing! The instructions were clear, and the flavors were perfectly balanced. Thank you for sharing such a fantastic dish—definitely adding this to my favorites! Can’t wait to see more recipes from you! 👏😍

